Spring Floral Doily: Free Crochet Pattern & Spring Decor Ideas
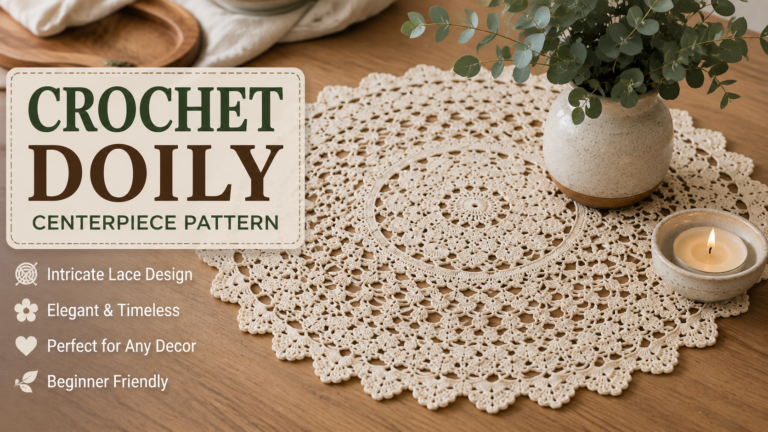
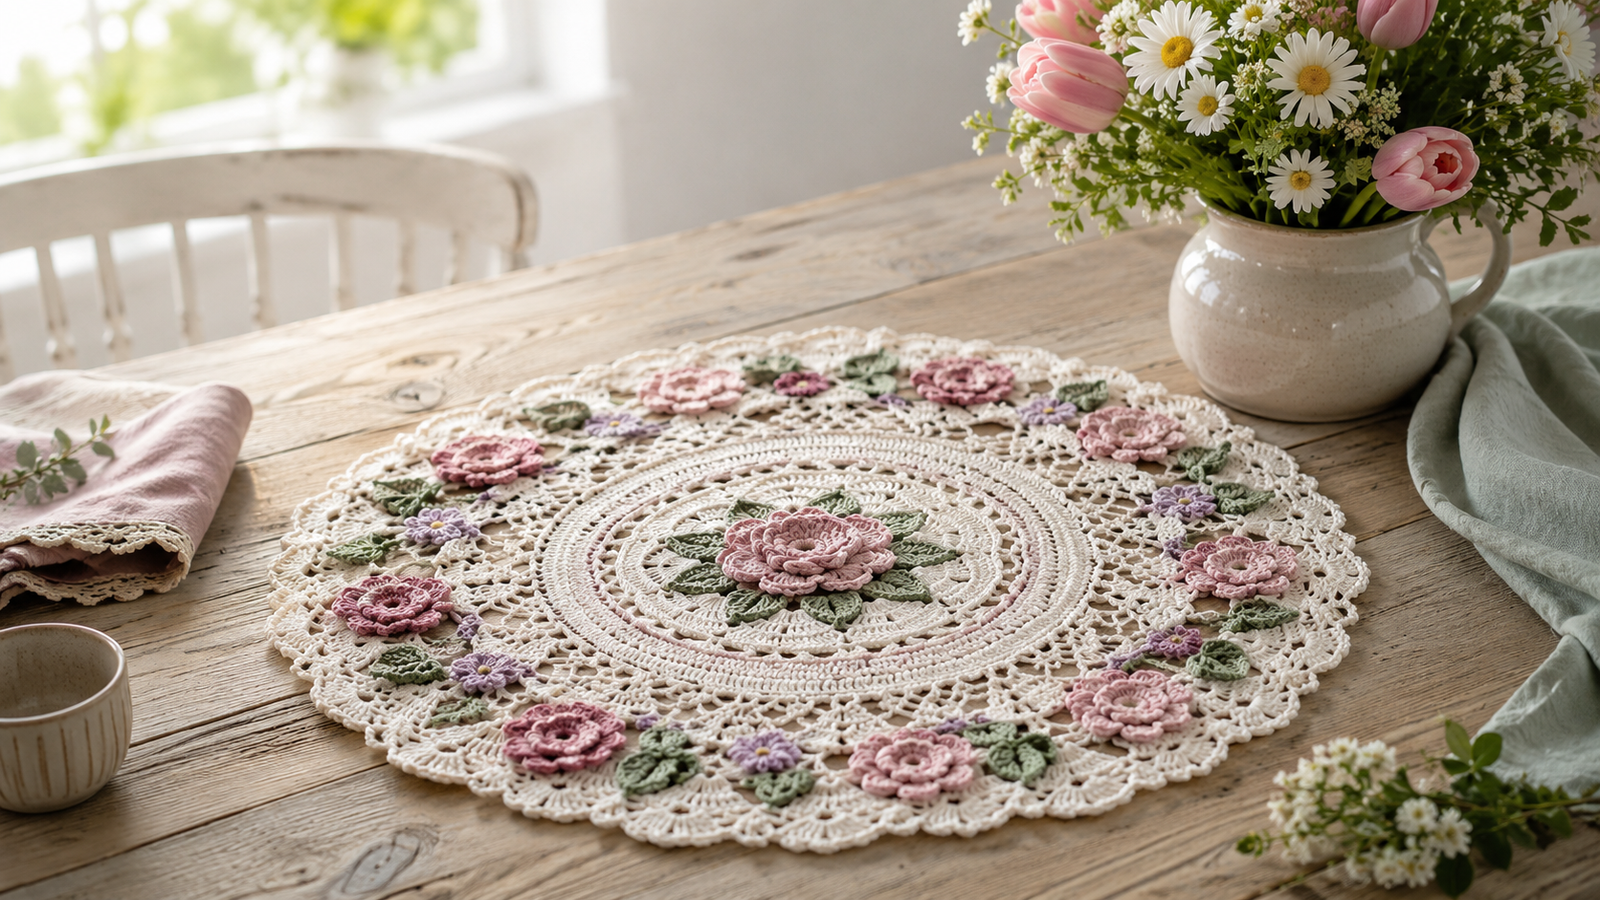
A spring floral doily is a lovely way to bring handmade texture, flowers, and soft seasonal color into your home. This crochet combines a simple round construction with petal-inspired details and an open lace border, making it suitable for a spring dining table, coffee table, entryway, or floral centerpiece.
This guide includes an original beginner-friendly pattern, materials, gauge, step-by-step instructions, spring color ideas, blocking tips, decorating suggestions, troubleshooting, and frequently asked questions.
If you’re new to crochet doilies, don’t worry. The pattern uses familiar stitches and repeating rounds, so you can work at your own pace and learn how the floral shape develops.
Spring Floral Doily Pattern at a Glance
| Detail | Information |
| Project | Spring Floral Doily |
| Skill Level | Beginner to Intermediate |
| Shape | Round |
| Construction | Worked in rounds |
| Suggested Material | Size 10 cotton crochet thread |
| Suggested Hook | 1.75 mm crochet hook |
| Finished Size | Approximately 10–11 inches |
| Stitches Used | sc, dc, sl st, ch, shell |
| Best For | Spring table decor, centerpiece, gifts |
The finished size will vary depending on your tension, yarn or thread, and hook size.
What Is a Spring Floral Doily?
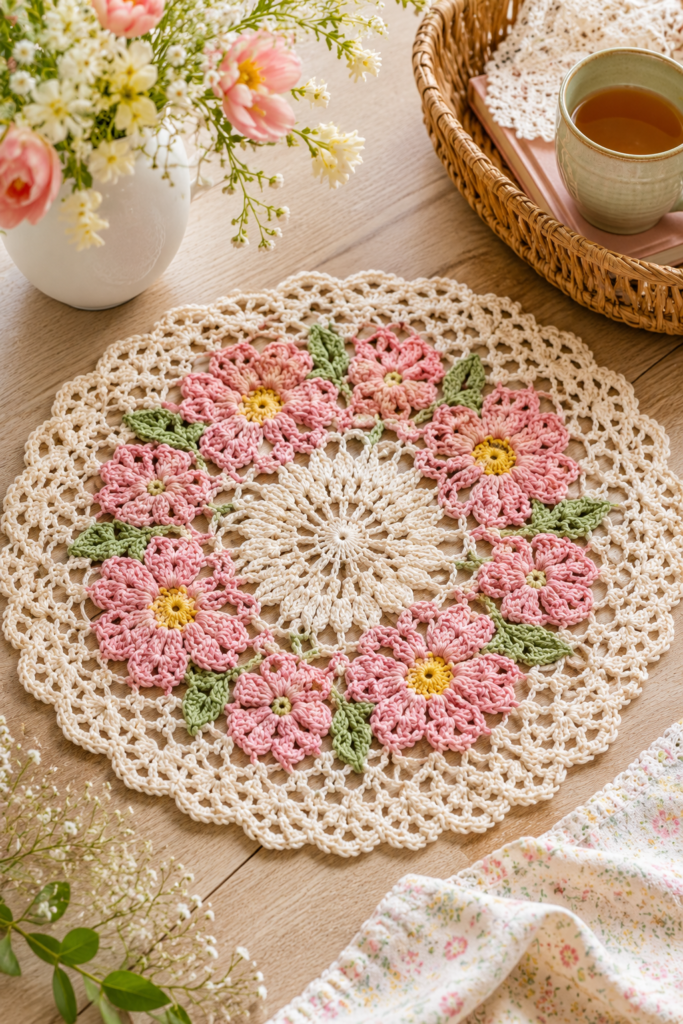
A spring floral doily is a decorative crochet piece inspired by flowers, leaves, petals, and spring colors. Traditional doilies are often crocheted with fine cotton thread to create an intricate lace effect, while modern versions can be made with lightweight cotton yarn for a bolder texture.
A floral doily works particularly well for spring because the open crochet fabric resembles lace and the circular shape naturally draws attention toward a centerpiece.
You can make yours in classic white, soft pink, lavender, sage green, butter yellow, peach, or a combination of pastel shades.
Why Crochet a Floral Doily for Spring?
A handmade doily is a small project with a surprisingly large decorative impact.
Perfect for seasonal decorating
Place your finished doily under a vase of flowers, decorative bowl, candle arrangement, or small centerpiece.
Beginner-friendly
This design uses basic crochet stitches and repeated rounds. Once you understand the first few rounds, the pattern becomes easier to follow.
Inexpensive handmade project
A small amount of cotton crochet thread is enough for many doily projects, making this a useful stash-busting idea.
Beautiful handmade gift
A finished floral doily makes a thoughtful gift for Mother’s Day, Easter, a housewarming, a birthday, or a spring hostess gift.
Materials You’ll Need
For the classic lace version, use:
- Size 10 cotton crochet thread
- 1.75 mm crochet hook
- Tapestry needle
- Small scissors
- Blocking mat or another suitable blocking surface
- Rust-resistant blocking pins
Cotton crochet thread is recommended because it gives the stitches good definition and creates the crisp appearance traditionally associated with crochet doilies.
If you prefer a larger, more modern doily, you can experiment with lightweight cotton yarn and an appropriately sized hook.
Crochet Abbreviations
US crochet terminology is used throughout this pattern.
- ch – chain
- sc – single crochet
- dc – double crochet
- sl st – slip stitch
- st/sts – stitch/stitches
- sp – space
- rep – repeat
- sk – skip
A shell in this pattern means 5 double crochet stitches worked into the same space.
Gauge and Finished Size
Gauge is less critical for a decorative doily than it is for clothing, but it still affects the finished dimensions.
For this design, a useful starting point is approximately
4 rounds = about 2 inches across
Your actual gauge will depend on your tension and thread.
The finished doily should measure approximately 10–11 inches in diameter when made with size 10 cotton crochet thread and a 1.75 mm hook.
If your work is much smaller or larger, adjust your hook size or material before continuing.
How to Crochet a Spring Floral Doily
Round 1: Create the Center
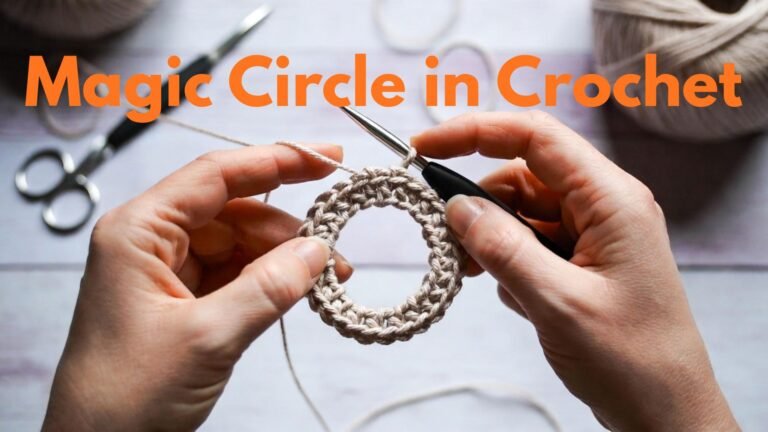
Make a magic ring.
Ch 3. This counts as the first DC.
Work 11 DC into the ring.
Join with a sl st to the top of the beginning ch-3.
Total: 12 DC
Pull the center of the magic ring closed.
Tip
Don’t pull the starting ring so tightly that the stitches become difficult to work into. A neat, firm center is good, but you still need the fabric to lie flat.
Round 2: Build the First Circle
Work 1 dc in the same stitch.
Work 2 dc in each stitch around.
Join with a sl st to the top of the beginning ch-3.
Total: 24 DC
You should now have a larger circular center.
Round 3: Add Open Spaces
Ch 3. Work 1 dc in the same stitch.
Ch 1. Skip the next stitch.
Repeat: 2 dc in the next stitch, ch 1, skip the next stitch.
around.
Join with a sl st to the top of the beginning ch-3.
You should now see small open spaces developing between groups of double crochet stitches.
Round 4: Begin the Floral Shape
Sl st into the next ch-1 space.
Work 4 dc into the same space.
This creates the first 5-dc shell.
Skip the next 2 DC.
Work 5 dc into the next ch-1 space.
Repeat around.
Join with a sl st to the beginning of ch-3.
The repeated shells create the first suggestion of rounded flower petals.
Round 5: Define the Petals
Sl st across the next 2 stitches to reach the center of the next shell.
Ch 3. Work 1 dc in the same stitch.
Ch 2 Work 2 dc in the same stitch.
This creates a larger petal-like group.
Repeat around each shell.
Join with a SL st.
At this point, your doily should have a distinctly floral appearance.
Round 6: Create the Lace Spaces
Ch 1. Work 1 SC in the first space.
Ch 4. Skip the next group.
Work 1 SC in the next space.
Repeat around.
Join with an SLST to the first SC.
These chain spaces create the open lacework that will help the finished doily feel light and airy.
Round 7: Expand the Doily
Sl st into the first ch-4 space.
Ch 3.
Work 3 DC into the same space.
Ch 2.
Work 4 DC into the same space.
Repeat this shell-style group around the doily.
Join with a SL st.
Your floral motif should now be expanding outward.
Round 8: Add Another Decorative Layer
Ch 1. Work 1 sc into the center of the first shell.
Ch 3. Work 1 SC into the next shell.
Continue around.
Join with a SL st.
Don’t pull the chains too tightly. Keeping the chain spaces relaxed helps the doily maintain an open lace appearance.
Round 9: Create the Outer Floral Border
Sl st into the next ch-3 space.
Ch 3. Work 4 DC into the same space.
Ch 1. Work 5 DC into the same space.
This forms a larger scalloped floral section.
Repeat around.
Join with a SL st.
The outer edge should now begin to look more decorative and dimensional.
Round 10: Add Picot-Inspired Detail
Ch 1. Work 1 sc into the center of the first shell.
Ch 3. Work 1 SC into the next space.
Ch 3. Repeat around.
For a more decorative finish, add a small picot at regular intervals by chaining 3 and making a sl st into the first chain.
Continue around the entire doily.
Round 11: Final Lace Round
Ch 1. Work 1 sc into the first space.
Ch 4. Work 1 SC into the next space.
Repeat around.
Join with a SL st.
This final open round gives the border a delicate lace appearance.
Round 12: Finish the Edge
For the final round, work a simple scalloped border.
Sl st into the first chain space.
Ch 1. Work 1 sc into the space.
Work 5 dc into the next space.
Work 1 sc into the following space.
Repeat the sequence around the entire edge.
Join with a sl st.
Fasten off.
Weave in all ends securely with a tapestry needle.
How to Block Your Spring Floral Doily
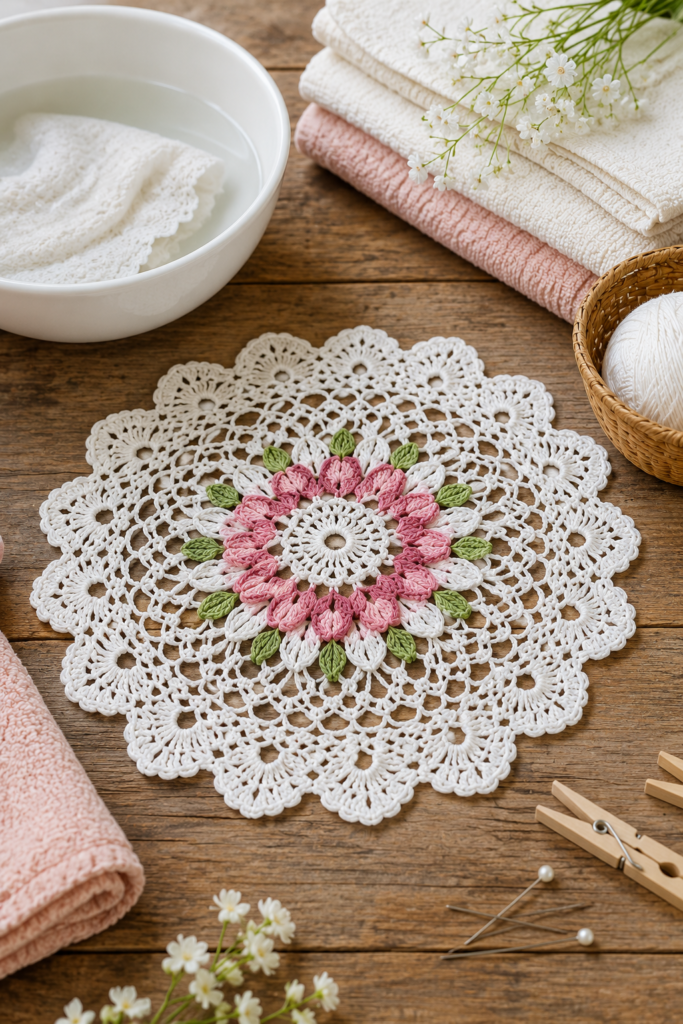
Blocking is especially important for crochet doilies because it helps define the lacework and creates a neat, symmetrical shape.
Step 1: Dampen the Doily
Gently wet the finished piece with cool or lukewarm water.
Do not aggressively wring it.
Step 2: Remove Excess Water
Place it between clean towels and press gently to remove excess moisture.
Step 3: Shape the Doily
Place it on a blocking mat.
Stretch it gradually into a round shape.
Step 4: Pin the Border
Use blocking pins around the outer edge.
Space the pins evenly so the scallops remain symmetrical.
Step 5: Shape the Petals
If your floral sections have become compressed, gently pull them into their intended shape.
Step 6: Allow It to Dry
Leave the doily pinned until it is completely dry.
Remove the pins carefully.
A properly blocked doily should look considerably flatter and more defined.
Best Yarn and Thread for a Crochet Floral Doily
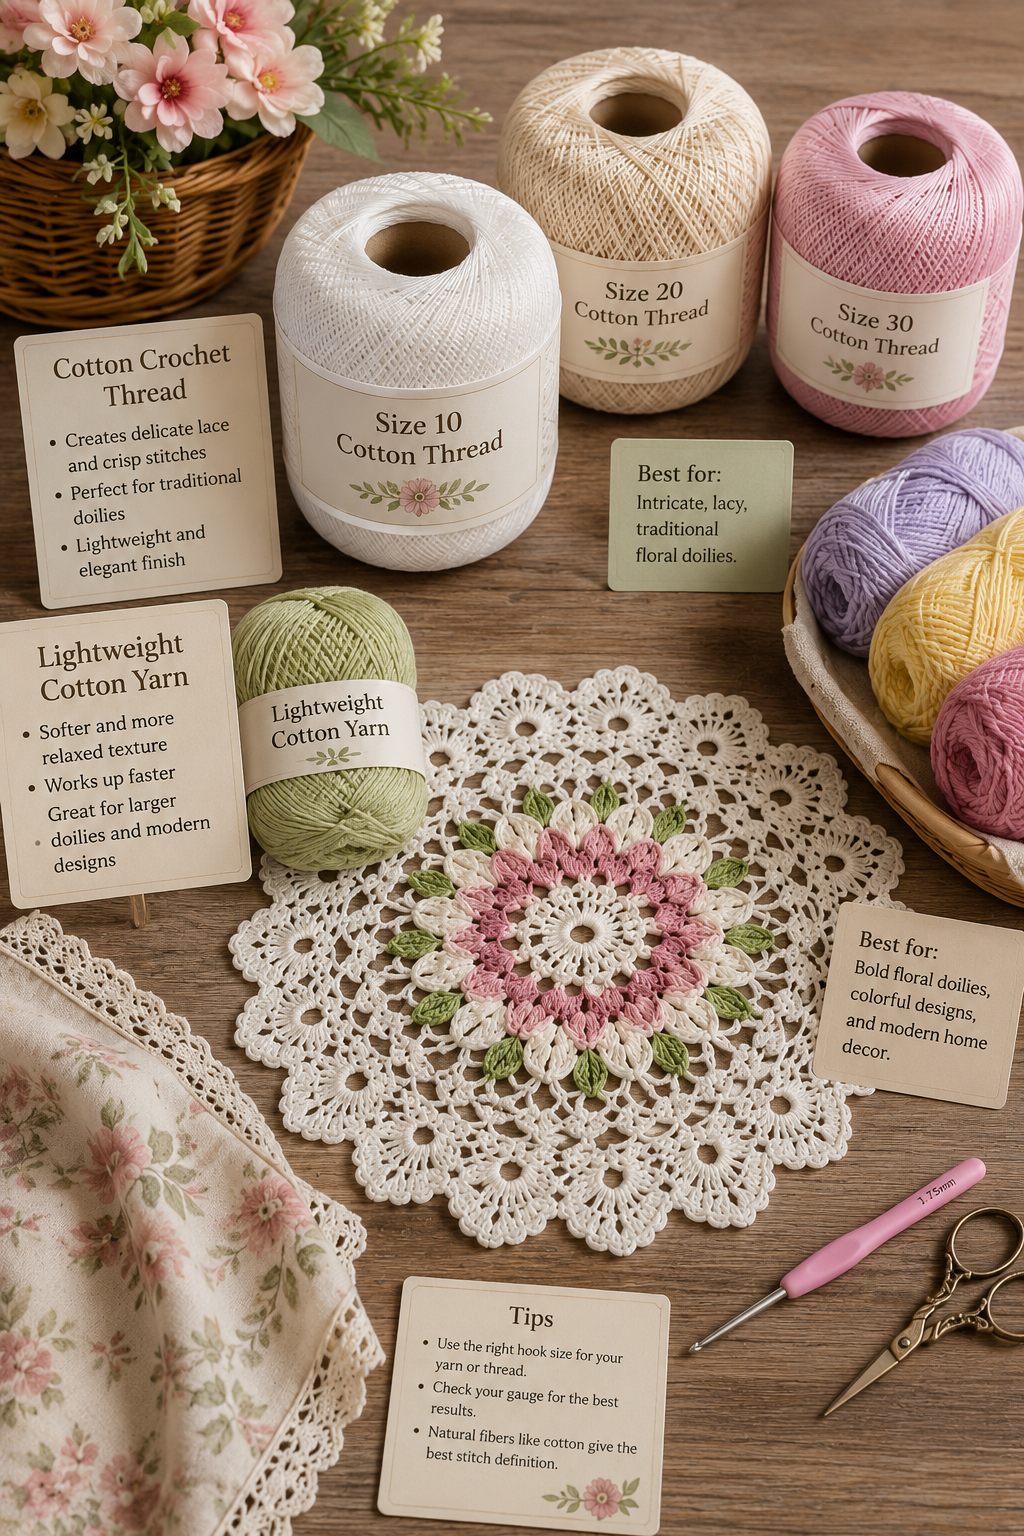
For a traditional floral crochet doily pattern, cotton crochet thread is usually the best choice.
Cotton crochet thread
Creates:
- Crisp stitch definition
- Delicate lacework
- Lightweight fabric
- A traditional doily appearance
Lightweight cotton yarn
Creates:
- Larger stitches
- A softer texture
- A larger finished piece
- A more modern appearance
Can You Use Regular Yarn?
Yes, but your finished dimensions will change.
If you replace fine crochet thread with thicker yarn, don’t assume the original pattern measurements will remain the same. Make a small test section first.
Spring Floral Doily Color Ideas
The right color palette can completely change the look of the finished project.
Pink and Cream
A soft pink center with a cream border creates a romantic spring look.
Lavender and White
Lavender works beautifully for floral designs and gives the doily a delicate appearance.
Sage Green and Cream
This combination is especially good for farmhouse and cottage-style interiors.
Butter Yellow and White
Use yellow for flower centers or petals to create a cheerful spring centerpiece.
Peach and Sage
Peach flowers combined with soft green leaves create a natural garden-inspired palette.
Classic White
A white floral doily remains the most versatile choice. It works with almost any table setting.
How to Choose a Spring Floral Doily Design
If you’re making a doily from a different pattern, consider the following before starting.
Best for beginners
Choose a pattern with:
- Basic stitches
- Repeating rounds
- Clear stitch counts
- Simple edging
Best for intermediate crocheters
Look for:
- Floral motifs
- Shell stitches
- Open lacework
- Color changes
- Decorative borders
Best for advanced crocheters
Choose intricate patterns featuring:
- Fine thread
- Complex lace
- Detailed floral motifs
- Picot edging
- Multiple stitch combinations
How to Resize a Crochet Floral Doily
You can sometimes modify a doily by changing the number of rounds, but modifications should follow the pattern’s repeat structure.
To make it smaller
Stop after an earlier complete repeat and add a suitable finishing edge.
To make it larger
Continue the established repeat if the stitch pattern allows additional rounds.
Change your hook size.
A larger hook usually creates a larger, looser fabric.
A smaller hook creates a tighter fabric.
Always make a sample first when changing materials or hook size.
Common Crochet Doily Problems
Why Is My Doily Curling?
A small amount of curling can sometimes be corrected during blocking.
If it is severe, check your stitch count. Too few increases can cause a circular crochet piece to cup.
Why Is My Doily Wavy?
Too many increases can create excess fabric and make the edge wave.
Count the stitches in the affected round before continuing.
Why Is the Center Puckering?
Your starting ring or early rounds may be too tight. Try relaxing your tension and make sure the center isn’t being pulled excessively.
Why Are My Petals Uneven?
Check that each repeated petal contains the same number of stitches. Consistent tension also makes a significant difference.
Why Doesn’t My Doily Lie Flat?
Check:
- Stitch count
- Tension
- Hook size
- Yarn/thread substitution
- Blocking
If the stitch structure is correct, careful blocking can dramatically improve the final shape.
How to Care for a Crochet Doily
Cotton doilies should be treated gently.
Washing
Hand wash in cool or lukewarm water using a mild detergent when appropriate for your material.
Drying
Don’t twist or wring the doily. Gently press out excess water with a towel.
Reblocking
If washing causes the doily to lose its shape, dampen it and block it again.
Storage
Make sure the doily is completely dry before storing it. Keep it in a clean, dry place away from excessive moisture and crushing.
Frequently Asked Questions
What is the easiest crochet doily pattern for beginners?
Choose a round design that uses basic stitches and repeating rounds. Avoid very fine thread and complicated lace until you’re comfortable reading crochet patterns.
What yarn is best for crochet doilies?
Cotton crochet thread is an excellent choice for traditional lace doilies because it provides crisp stitch definition and holds its shape well.
Can I use regular yarn instead of crochet thread?
Yes. Lightweight cotton yarn can be substituted, but the finished doily will usually be larger and less delicate.
What crochet hook size is best for a doily?
The correct hook depends on the thread or yarn. For the pattern in this article, a 1.75 mm hook with size 10 cotton crochet thread is a useful starting point.
How do you crochet a floral doily?
A floral doily is generally built from a center ring followed by repeated rounds that create petals, open lace sections, and a decorative border. The exact stitch sequence depends on the pattern.
How do you keep a crochet doily flat?
Use the correct stitch count, maintain consistent tension, and block the completed piece. If the doily curls significantly, check your increases before relying on blocking to fix it.
How do you block a crochet doily?
Dampen the finished doily, gently stretch it into the intended shape on a blocking surface, secure the edges with pins, and leave it until completely dry.
Can I make a crochet doily bigger?
Yes, if the stitch pattern has repeatable rounds. Continue the established repeat before adding the final border rather than adding random stitches.
What colors are best for spring crochet?
Pastel pink, lavender, sage green, cream, white, peach, yellow, and soft blue are all excellent spring colors.
Can I use a crochet doily as a centerpiece?
Absolutely. Place it beneath a vase, floral arrangement, decorative bowl, candles, or a small tray to create a handmade spring centerpiece.
How long does it take to crochet a doily?
A small, simple doily may take a few hours, while an intricate lace design can take considerably longer. Fine thread, detailed motifs, and complex borders generally increase the working time.
Final Thoughts
A spring floral doily is a small crochet project that can make a noticeable difference in seasonal home decor. With cotton crochet thread, a simple hook, and a few basic stitches, you can create a delicate floral piece for your dining table, coffee table, entryway, or spring centerpiece.
For beginners, start with the basic round construction and focus on keeping your tension consistent. More experienced crocheters can experiment with color changes, finer thread, larger borders, floral motifs, and custom sizing.
Once the crochet work is complete, don’t skip blocking. Proper blocking helps open the lace, define the petals, and give the finished doily a polished shape.
Whether you make yours in classic white, pastel pink, lavender, sage green, sunny yellow, or a multicolor spring palette, a handmade floral doily is a versatile piece you can bring out year after year. Pair it with fresh flowers, a simple vase, or a spring table setting for an easy handmade touch that feels both timeless and seasonal.