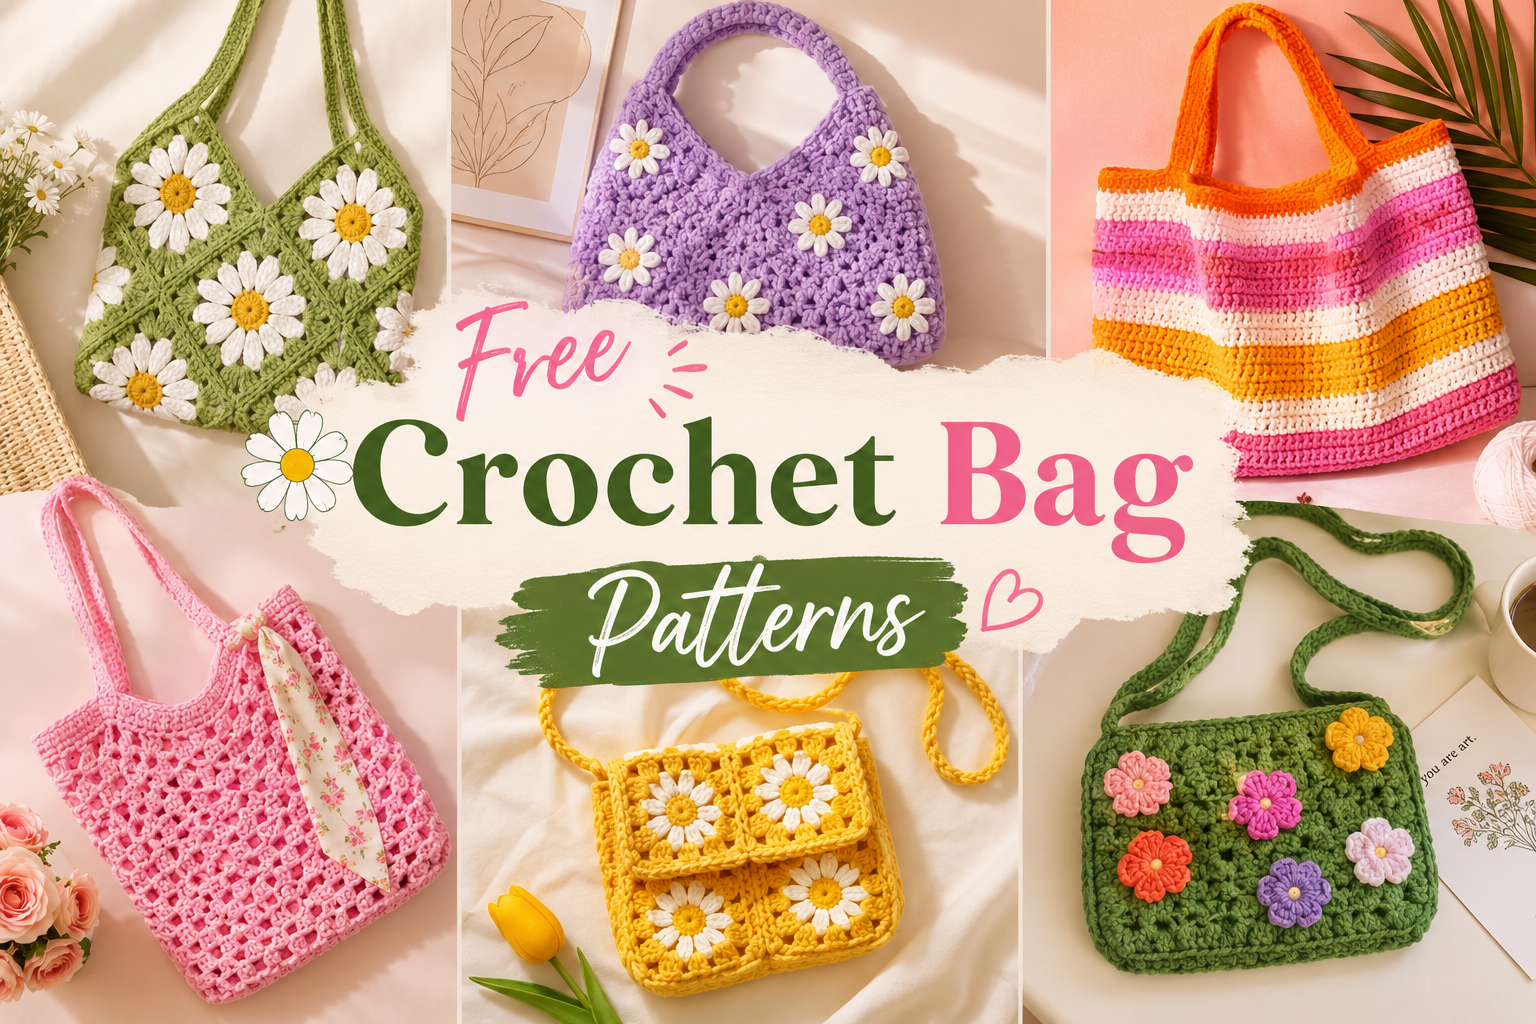
Stunning Free Crochet Bag Patterns You’ll Adore
Looking for free crochet bag patterns that are actually worth making? A lot of posts either dump links or barely explain anything. You try one, get stuck, and give up halfway. This guide is more practical. You’ll find crochet tote bags, crossbody styles, mini bags, and market bags, plus clear steps and tips that help things turn out right, even if you’re new. If you want something quick, start simple. If you want something more polished, there’s plenty here too.
Why Crochet Bags Are Everywhere Again
Crochet bags came back strong and not just as a trend. They’re useful. Reusable. Easy to customize. And they don’t take weeks to finish. Searches like crochet bags for women, aesthetic crochet bags, and cute crochet bags keep growing, especially on Pinterest. That’s where most of the traffic is coming from.
Crochet Bag Essentials: Materials and Stitches
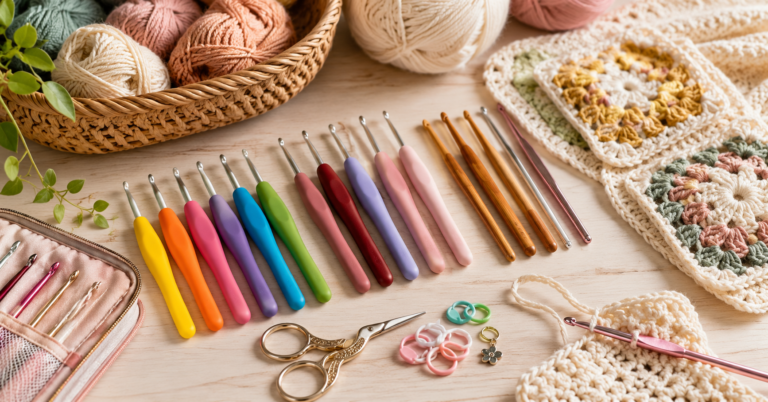
Materials
You don’t need much:
- Cotton yarn (best for structure)
- Crochet hook (4mm–6mm works for most patterns)
- Scissors
- Yarn needle
- Stitch markers
If you want your bag to hold its shape, cotton yarn is the safest choice.
Basic Stitches
Most crochet bag patterns use:
- Chain
- Single crochet
- Half double crochet
- Double crochet
- Slip stitch
That’s enough for almost everything in this guide.
Tips That Make a Big Difference
Use the right yarn
Cotton holds its shape.
T-shirt yarn gives a chunky look.
Acrylic stretches more than you expect.
Smaller hook = stronger bag
Loose stitches lead to sagging.
Add lining if you can
Not required, but it helps your bag last longer and look cleaner.
Don’t skip handle reinforcement
Handles stretch first. Always.
Add an extra row or tighter stitches.
Easy Crochet Bag Pattern
This is a simple crochet tote bag pattern you can actually finish.
Skill Level: Beginner
Time: 3–5 hours
Step 1: Base
Chain 30
Single crochet across
Repeat for 20 rows
Step 2: Body
Work in rounds
Continue for 25 rows
Step 3: Handles
Chain 40
Attach to both sides
Step 4: Reinforce
Add another row to handles
Now you’ve got a basic crochet tote bag that works for everyday use.
Crochet Bag Patterns by Type
Instead of random ideas, here’s how to pick the right one.
Crochet Tote Bag Patterns
Best for beginners. Practical for daily use.
Crochet Market Bag Patterns
Lightweight and stretchable. Good for groceries.
Crochet Crossbody Bag Pattern
Hands-free and more modern-looking.
Crochet Drawstring Bag Pattern
Quick projects. Great for gifts.
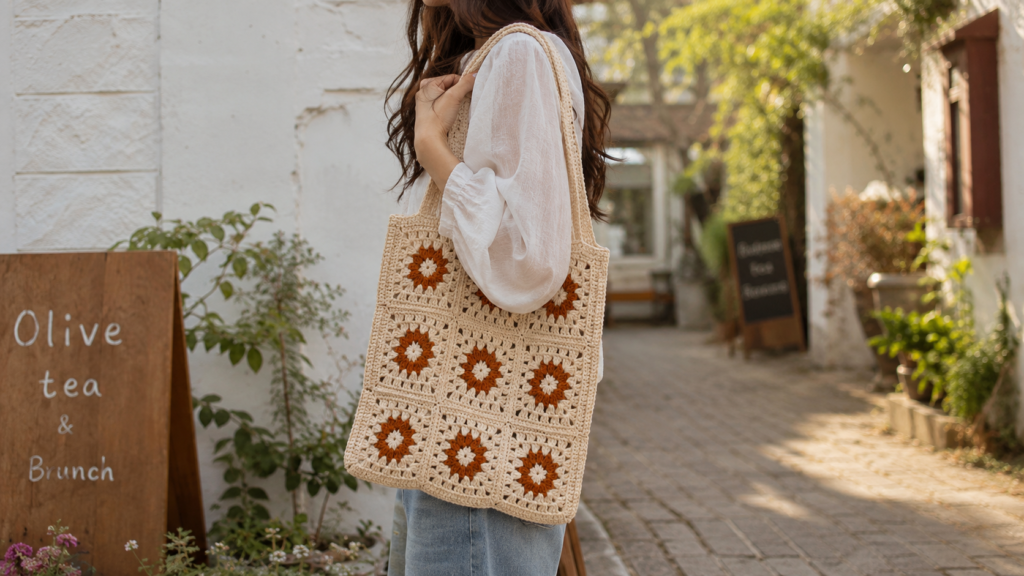
Crochet Granny Square Bag Pattern
Colorful. Popular on Pinterest.
Crochet Beach Bag Pattern
Looser stitches. Good for summer.
Crochet Bag Pattern Ideas
Cove Crochet Tote Bag
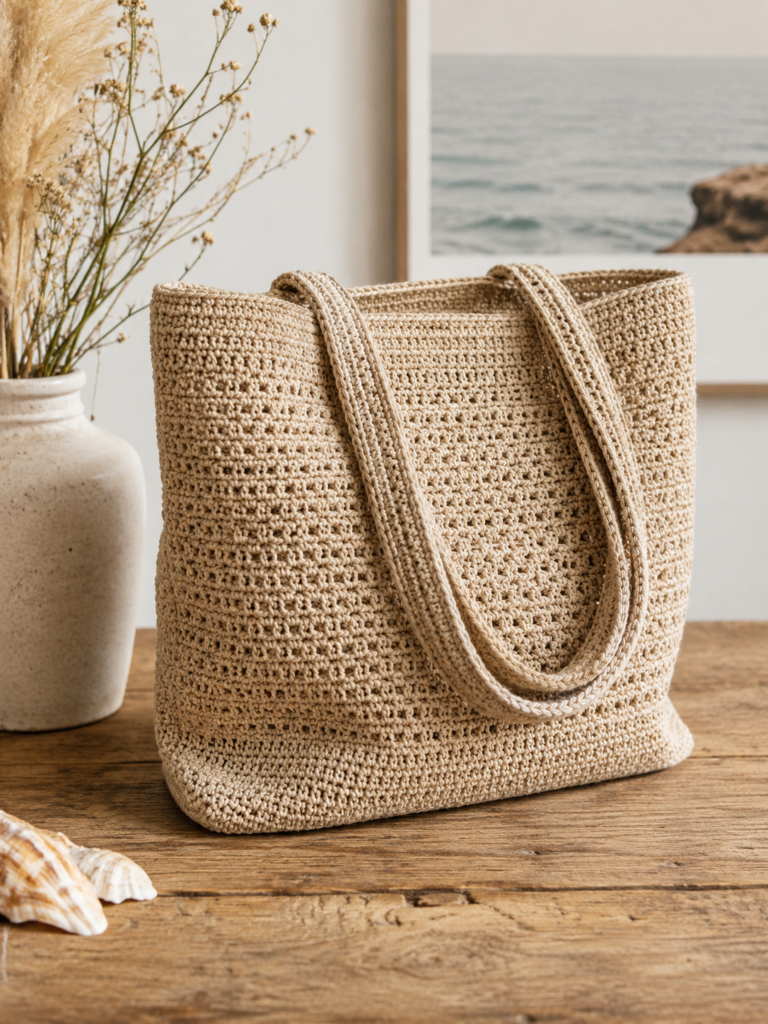
Skill: Beginner
Hook: 5 mm
Yarn: Cotton yarn
Step 1: Base
- Chain 32
- Single crochet across
- Repeat for 20–22 rows
Step 2: Body
- Work around the rectangle (all sides)
- Use single crochet for the first round
- Then switch to half-double crochet
- Continue 25 rounds (or until desired height)
Step 3: Handles
- Attach yarn to the side
- Chain 45–50
- Skip stitches and attach
- Repeat on the other side
Step 4: Reinforce
- Single crochet along handles
- Add 1 round around the top edge
Quick Tips
- Use tight stitches → stronger bag
- Cotton yarn works best
- Reinforce handles, or they’ll stretch
Mystery Medley Tote
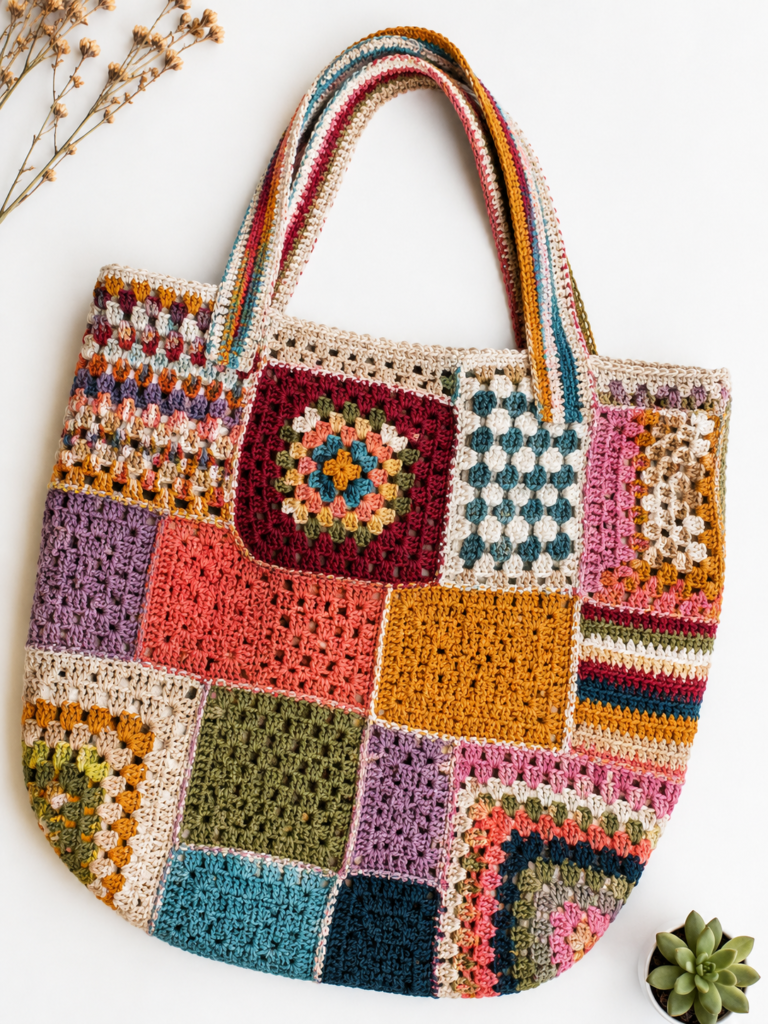
Skill: Intermediate
Hook: 5 mm
Yarn: Cotton (2–4 colors)
Step 1: Make Panels
You’ll create 4 equal squares (about 6–7 inches each).
- Square 1: single crochet rows
- Square 2: half double crochet
- Square 3: double crochet
- Square 4: mesh (ch 1, skip 1)
Keep the stitch count the same so the sizes match.
Step 2: Join Panels
- Lay out 2 squares for the front, 2 for the back
- Join using slip stitch or whip stitch
- Now join the sides and the bottom
You should have a basic bag shape.
Step 3: Build the Body
- Attach yarn to the top edge
- Work in rounds using half-double crochet
- Continue 20–25 rounds
This adds height and blends the panels.
Step 4: Handles
- Mark two points evenly
- Chain 45–50
- Attach across the opening
Repeat for the second handle.
Step 5: Reinforce
- Single crochet over handle chains
- Add one full round on the top edge
Tips
- Keep tension even (important for panels)
- Use the same hook size for all squares
- Cotton yarn gives the best structure
Island Hopper Bag
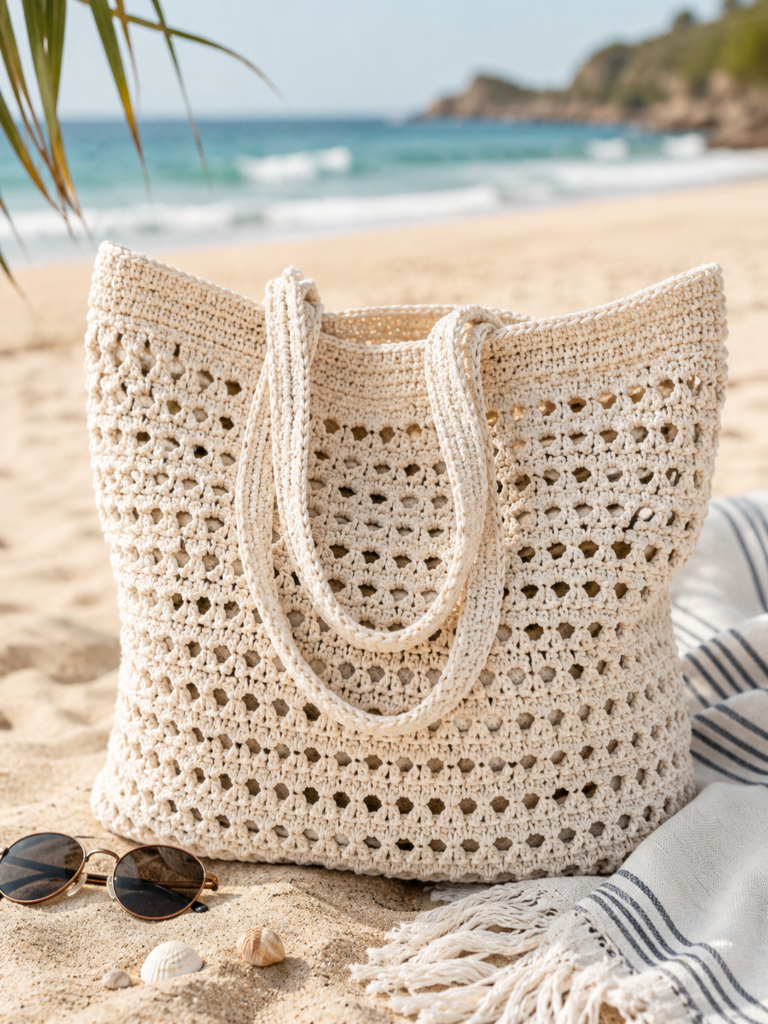
Skill: Beginner
Hook: 5–6 mm
Yarn: Cotton
Step 1: Base
- Chain 28
- Row 1: single crochet across
- Repeat 18–20 rows
Creates a flat rectangle.
Step 2: Work Around Base
- Crochet around all sides
- Add 2 stitches in each corner
This starts forming the bag shape.
Step 3: Mesh Body
- Round: chain 2, skip 1, single crochet
- Repeat all around
Continue 20–25 rounds.
This creates a stretchy, breathable bag.
Step 4: Handles
- Chain 50–55
- Attach on opposite sides
Step 5: Reinforce
- Work single crochet over handles
- Add 1 round at the top
Tips
- Don’t make stitches too loose
- The mesh stretches a lot after use
Summer Shoulder Bag
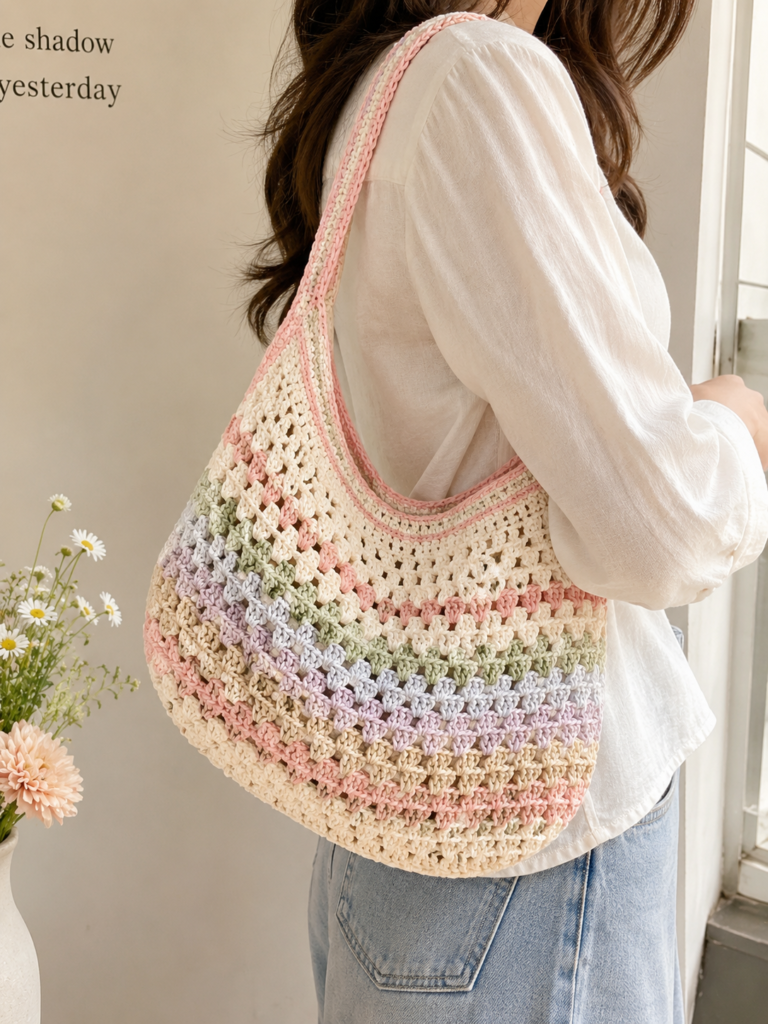
Skill: Beginner
Hook: 5 mm
Yarn: Cotton
Step 1: Base Panel
- Chain 30
- Half double crochet across
- Repeat 20 rows
Step 2: Form Bag
- Fold the panel in half
- Slip stitch sides together
Now you have a pouch shape.
Step 3: Shape Top
- Work single crochet around the opening
- Slightly decrease at corners for a curved look
Step 4: Strap
- Chain 70–80 for shoulder length
- Attach both ends securely
Step 5: Finish
- Add one more round around the top edge
Tips
- Keep the strap tight, or it will stretch
- Use a smaller hook for a cleaner look
Daisy Flowers Bag
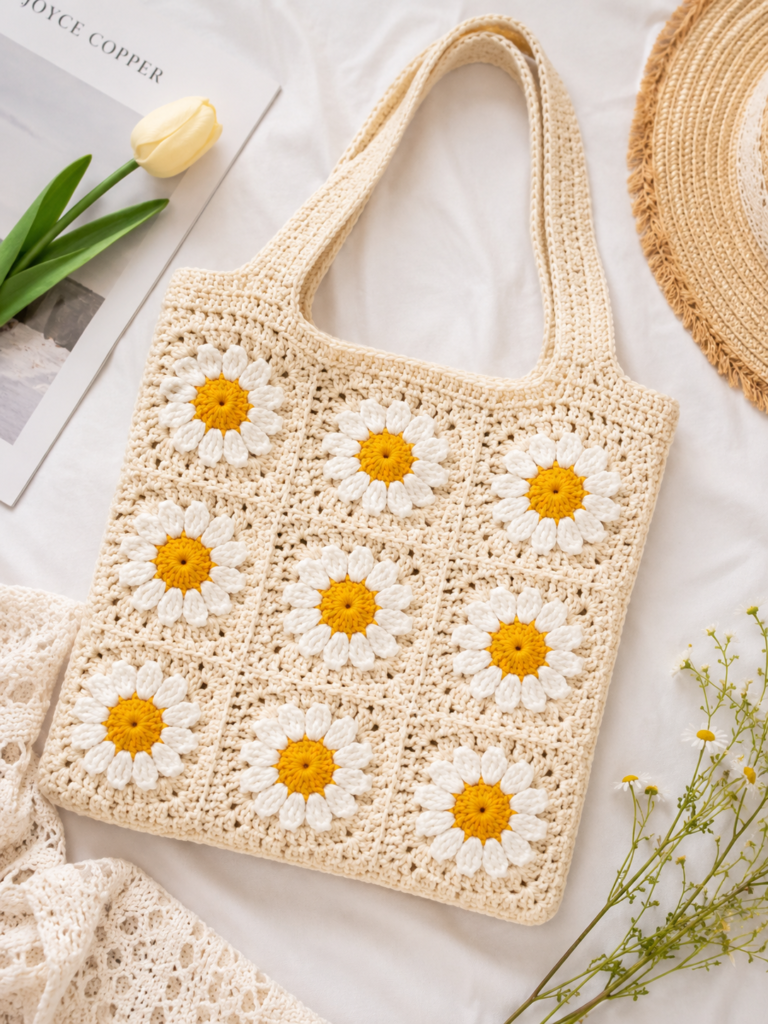
Skill: Intermediate
Hook: 4–5 mm
Yarn: Cotton (yellow, white, green)
Step 1: Daisy Squares
Make 10–12 granny squares:
- Center: yellow (magic circle + stitches)
- Petals: white (double crochet clusters)
- Border: green (square shape)
All squares should be the same size.
Step 2: Join Squares
- Arrange in a rectangle (e.g., 3 × 4)
- Join using a slip stitch or sewing
Step 3: Form Bag
- Fold in half
- Join sides
Step 4: Handles
- Attach yarn
- Chain 45–50
- Reinforce with single crochet
Step 5: Finish
- Add a border around the top
Tips
- Block squares before joining
- Keeps shape neat and even
Butterfly Bag
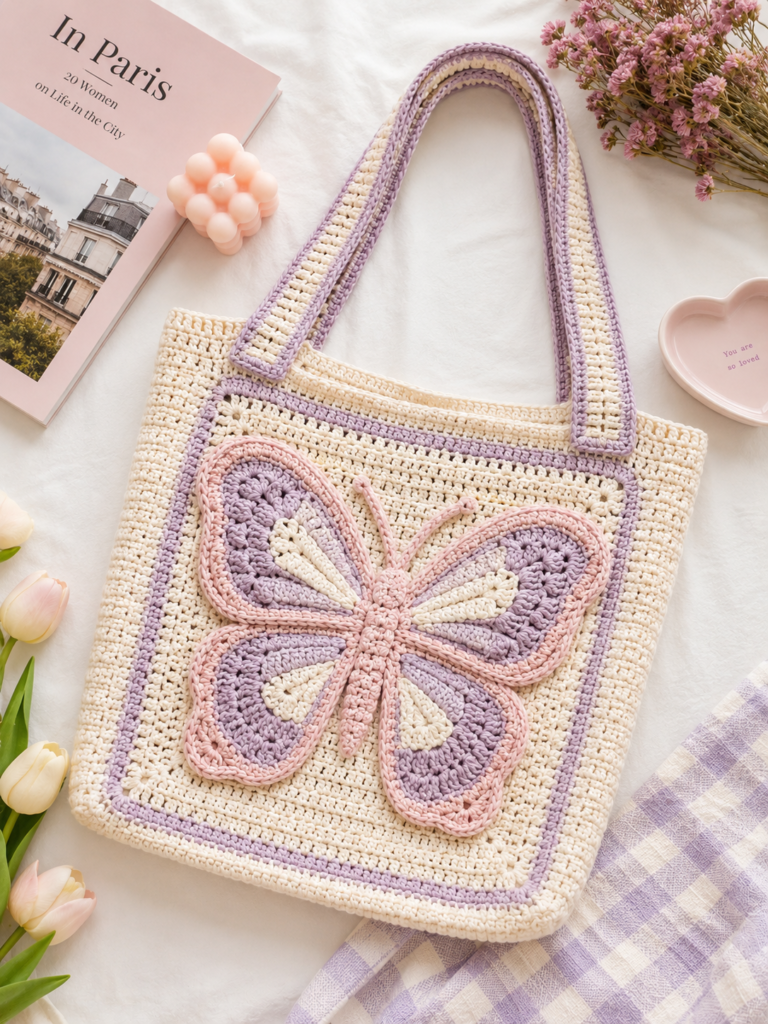
Skill: Intermediate
Hook: 4–5 mm
Yarn: Cotton
Step 1: Base Bag
- Chain 30
- Single crochet for 20 rows
- Fold and stitch sides
Step 2: Make a Butterfly
- Start with a magic circle
- Work chains + double crochet to form wings
- Make 1–2 butterflies
Step 3: Attach Design
- Sew a butterfly onto the front
- Position in the center
Step 4: Strap
- Chain 50–70
- Attach for shoulder or crossbody
Step 5: Finish
- Add a border around the edges
Tips
- Use a bright color for the butterfly
- Keep stitches tight for a clean shape
Magnolia Granny Square Bag
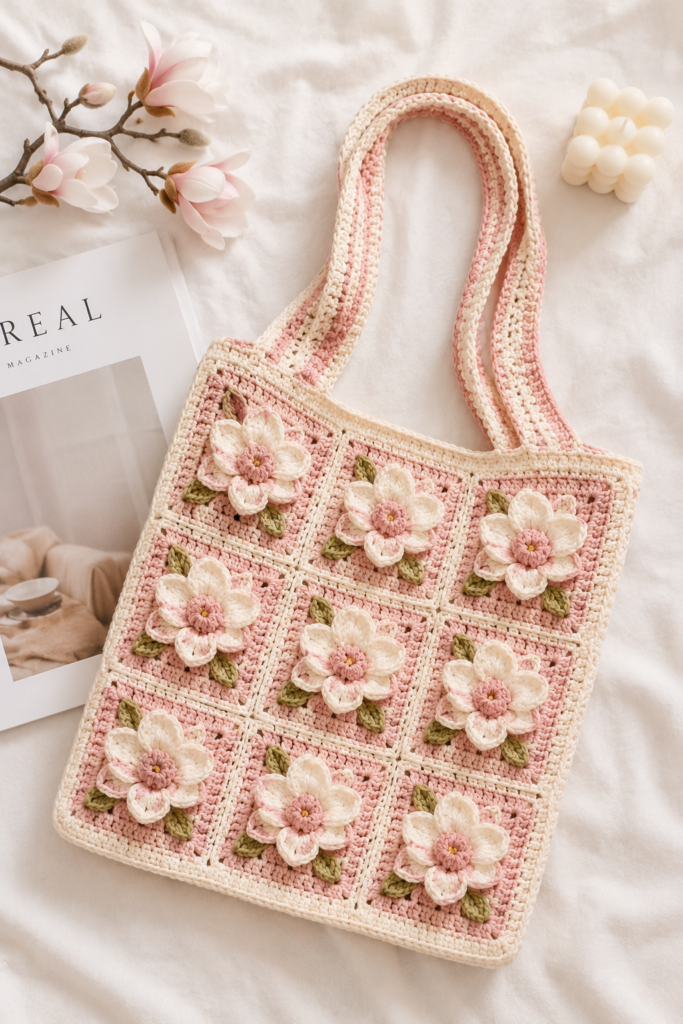
Tutorial
Skill: Intermediate
Hook: 4–5 mm
Yarn: Cotton (2–3 colors)
Step 1: Make Magnolia Squares
- Start with a magic circle
- Round 1: Work stitches into circle (center)
- Round 2: Create petals using double crochet clusters
- Round 3: Square the motif with corners
Make 10–12 equal squares.
Step 2: Join Squares
- Arrange in a grid (3×4 or 4×3)
- Join using slip stitch or whip stitch
Step 3: Form Bag
- Fold the panel in half
- Join sides
Step 4: Add Handles
- Chain 45–50
- Attach evenly
- Reinforce with single crochet
Step 5: Finish
Add a border around the top edge
Tips
- Block squares before joining
- Keep all squares the same size
Crochet Sunburst Hexagon Bag
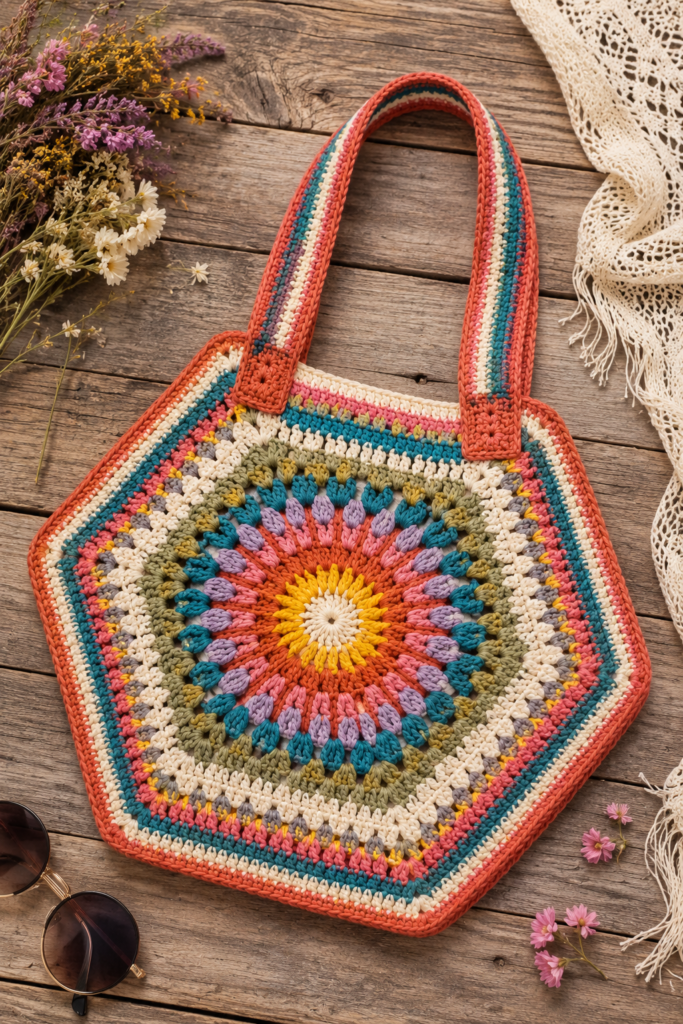
Tutorial
Skill: Intermediate
Step 1: Make Hexagons
- Start with a magic circle
- Round 1: center stitches
- Round 2–4: increase to form a hexagon shape
Make 10–14 hexagons.
Step 2: Join Motifs
- Join edges using a slip stitch
- Create front and back panels
Step 3: Assemble Bag
- Join the sides and the bottom
- Leave the top open
Step 4: Add Strap
- Chain 50–70 for crossbody
- Or shorter for the shoulder
Step 5: Finish
Add a border around the top
Tips
- Use consistent tension
- Mix colors for a strong visual effect
Crossbody Phone Holder Bag
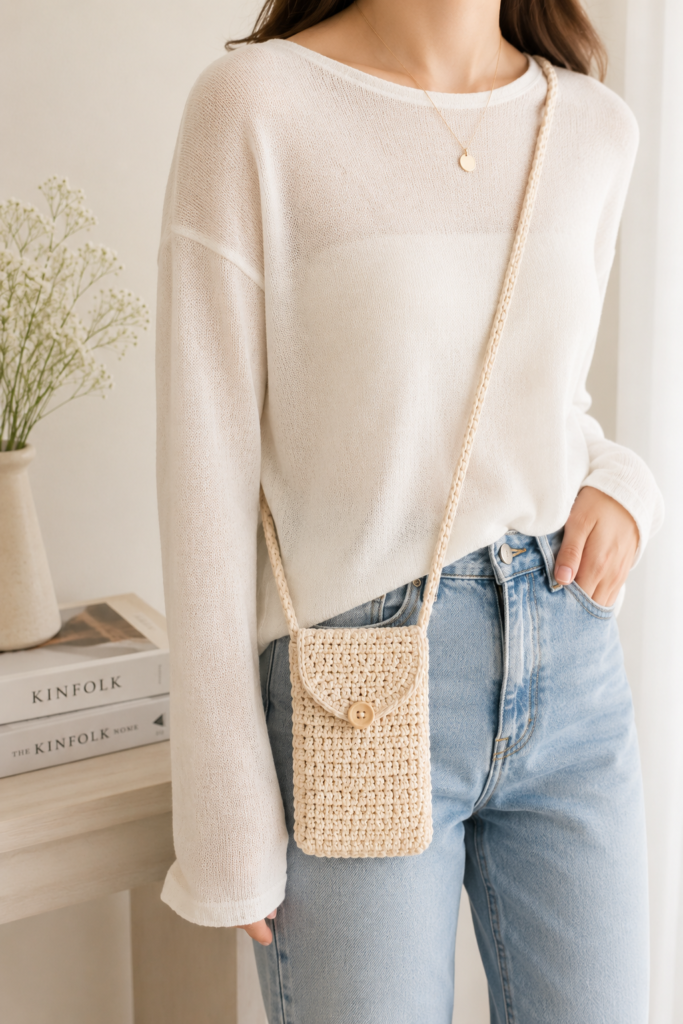
Tutorial
Skill: Beginner
Step 1: Base
- Chain length equal to phone width
- Single crochet across
- Repeat rows until phone height
Step 2: Form Pocket
- Fold rectangle
- Slip stitch sides
Step 3: Add Flap (Optional)
- Crochet extra rows on the back side
- Fold over as a flap
Step 4: Strap
- Chain 80–100 for crossbody
- Attach securely
Step 5: Finish
- Add border
- Optional button closure
Tips
- Keep stitches tight
- Measure the phone before starting
Drawstring Backpack
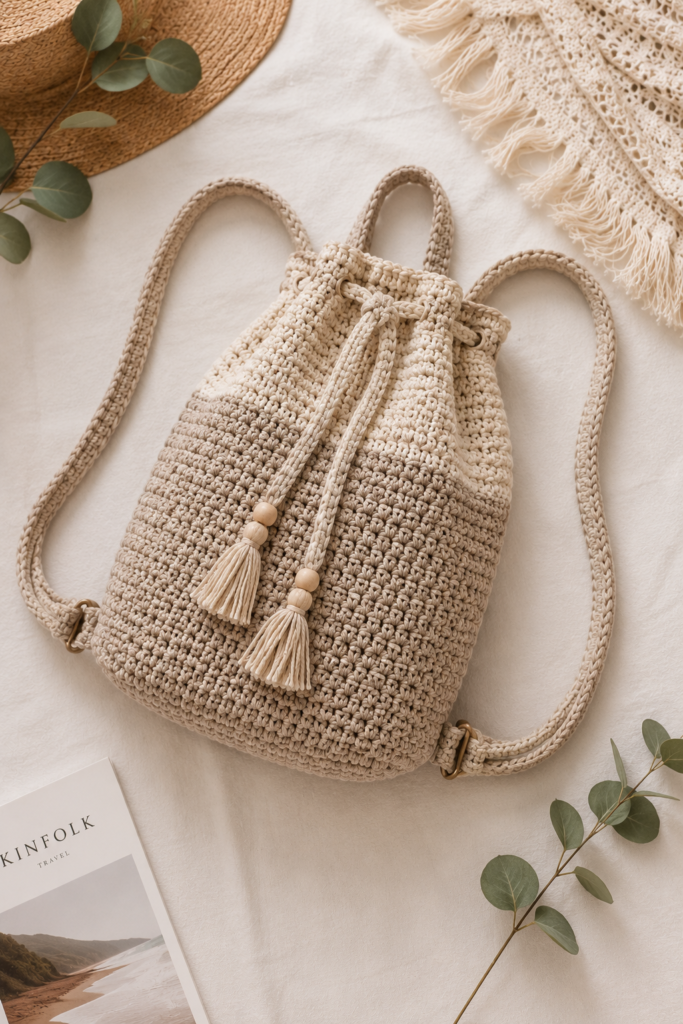
Tutorial
Skill: Beginner to Intermediate
Step 1: Base
- Chain 30
- Single crochet 20 rows
Step 2: Body
- Work in rounds
- Use half-double crochet
- Continue 30 rounds
Step 3: Drawstring Holes
- Round: chain 1, skip 1
- Creates holes for string
Step 4: Straps
- Attach yarn to the bottom corners
- Chain long straps
- Attach to top
Step 5: Add Drawstring
- Thread the yarn through the holes
- Pull to close
Tips
- Reinforce strap points
- Use thicker yarn for durability
Best Yarn for Crochet Bags
If your bag looks good but stretches, it’s usually the yarn.
Best options:
- Cotton yarn (most reliable)
- T-shirt yarn (thick and modern)
- Jute (strong, eco-friendly)
Avoid:
- Soft acrylic yarn (loses shape)
For a sturdy crochet bag, cotton is the safest choice.
How to Make a Crochet Bag Sturdy
This is where most beginners struggle.
To fix that:
- Use tight stitches
- Choose a thicker yarn
- Reinforce the base
- Double your handles
- Add lining if needed
Even a simple free crochet bag pattern can look high-quality with these fixes.
Common Mistakes
The bag stretches too much
Use cotton yarn + smaller hook
Handles sag
Reinforce early
The bag’s shape looks uneven
Count stitches in each row
FAQ
What is the easiest crochet bag pattern?
A basic crochet tote bag pattern using single crochet stitches and a simple rectangle base.
What yarn is best for crochet bags?
Cotton yarn. It holds shape and lasts longer.
How do you make a crochet bag sturdy?
Use tight stitches, strong yarn, and reinforced handles and base.
How long does it take to crochet a bag?
Most easy crochet bags take 2–5 hours.
What stitch is best for crochet bags?
Single crochet and half double crochet are the most durable.
Can beginners crochet a bag?
Yes. Many easy crochet bag patterns are made for beginners.
Final Thoughts
Crochet bags are one of the easiest projects to start and actually finish. Start with a crochet tote bag pattern, keep your stitches tight, and don’t overthink it. Once you make one, the next one gets easier and better.