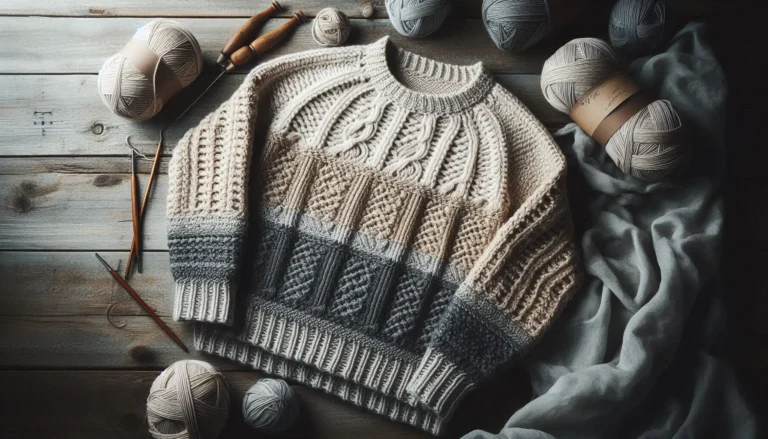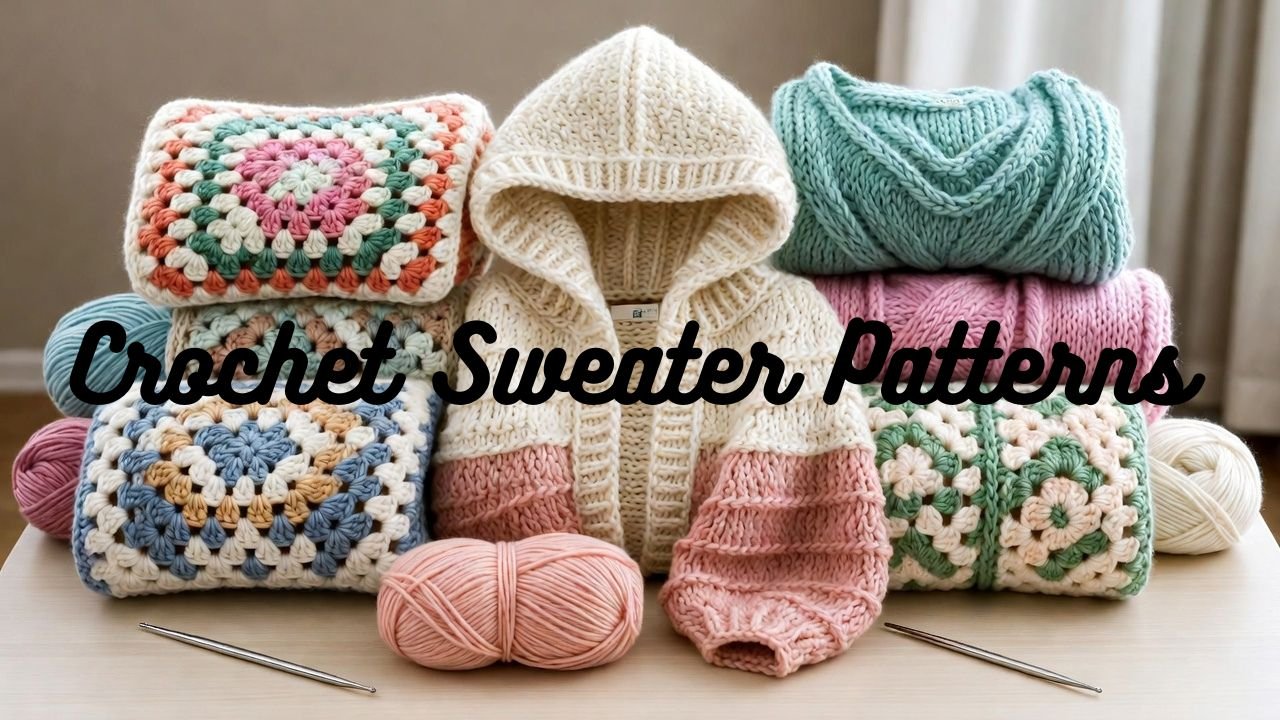
Crochet Sweater Pattern Guide for Beginners to Advanced Crocheters
Want to make a sweater? Start with one solid crochet sweater pattern. No tricks. Just clear steps.
You’ll learn yarn choice, sizing, shaping, and seaming. Works for an easy crochet sweater, a crochet sweater vest pattern, or free crochet sweater patterns for beginners.
Garments look hard. They aren’t. One pattern. Basic tools. Patience.
Why Try a Crochet Sweater Pattern
A crochet sweater pattern teaches real skills. Measuring. Shaping. Seaming. Finishing.
After one sweater, you can make cardigans, pullovers, sweater dresses, cropped styles, or pet sweaters. You control color, yarn, and fit.
Can Beginners Crochet a Sweater?
Yes. Start with a beginner crochet sweater pattern. Look for:
- easy crochet sweater
- simple crochet sweater pattern free
- Crochet sweater for beginners
Most use rectangles and basic stitches. Drop‑shoulder builds. No stress.
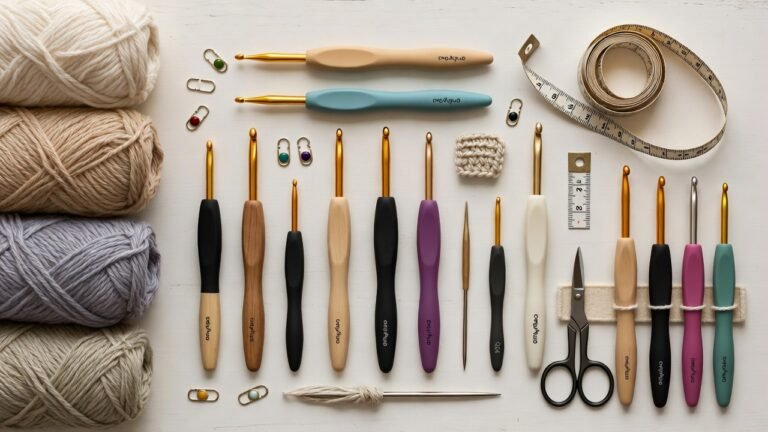
Supplies You’ll Need
Yarn
Pick yarn for the season.
- bulky yarn for winter
- DK yarn for lighter tops
- , chunky yarn for oversized looks
- , cotton for summer sweaters
Medium‑weight yarn is easiest for a first project.
Hook
Use the hook size in the pattern. Make a gauge swatch first.
Tools
- : stitch markers
- , measuring tape
- , blocking mats
- , yarn needle
- , crochet sweater size chart
Common Crochet Sweater Construction
Drop Shoulder
Best for beginners. Flat panels. Simple seams.
Top‑Down Raglan
Try it on as you go. Adjust sleeves and length.
Bottom‑Up
Start with ribbing. Join pieces later.
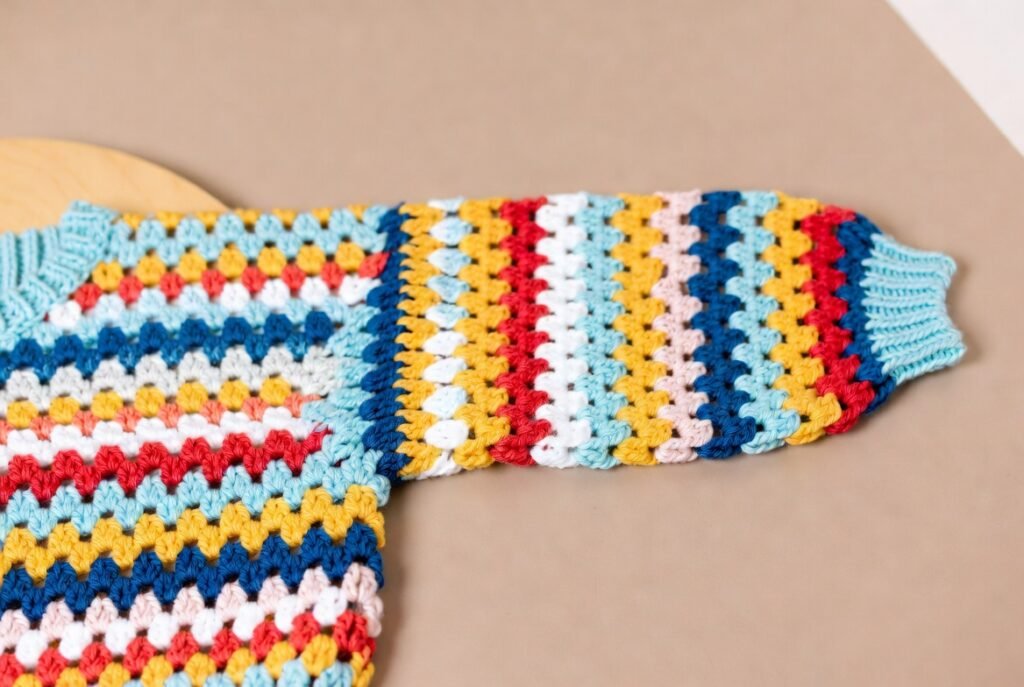
Granny Square Sweater
Motifs joined together. Great stash project.
Basic Crochet Sweater Pattern Steps
Back Panel
Chain to chest width. Work rows to length. Keep tension even.
Front Panel
Same as back. Shape the neckline near the top.
Sleeves
Start at the cuff. Increase slowly for fit.
Join Pieces
Use mattress stitch or slip stitch. Block first for neat seams.
Neckline
Add ribbing or a collar. Then cuffs and hem.
Your handmade crochet sweater is ready.
Free Crochet Sweater Pattern Ideas
Granny Square Sweater
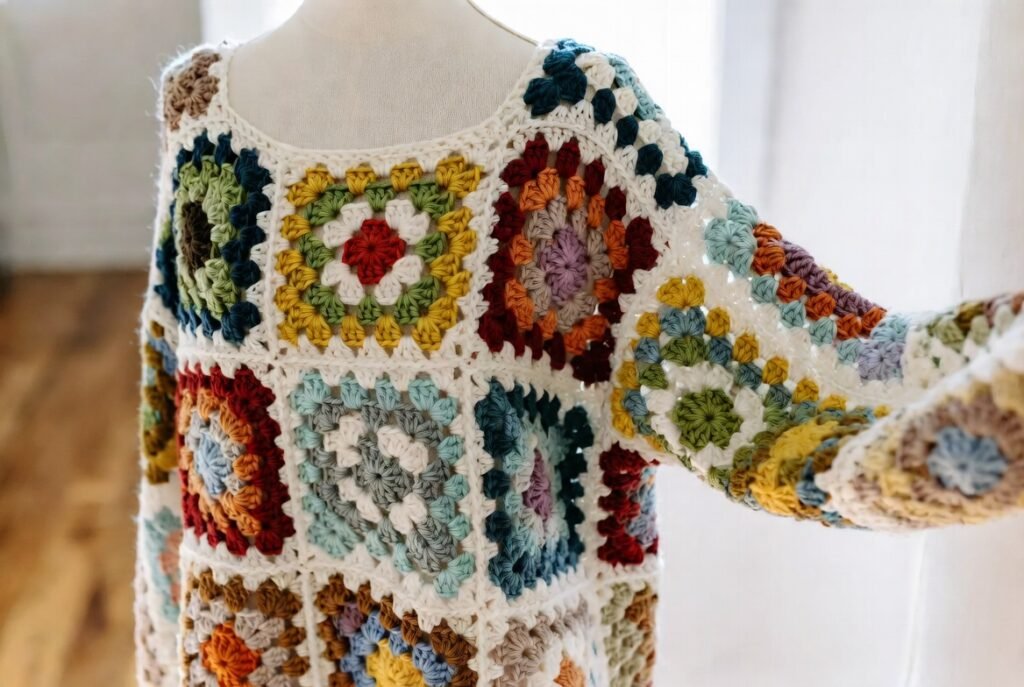
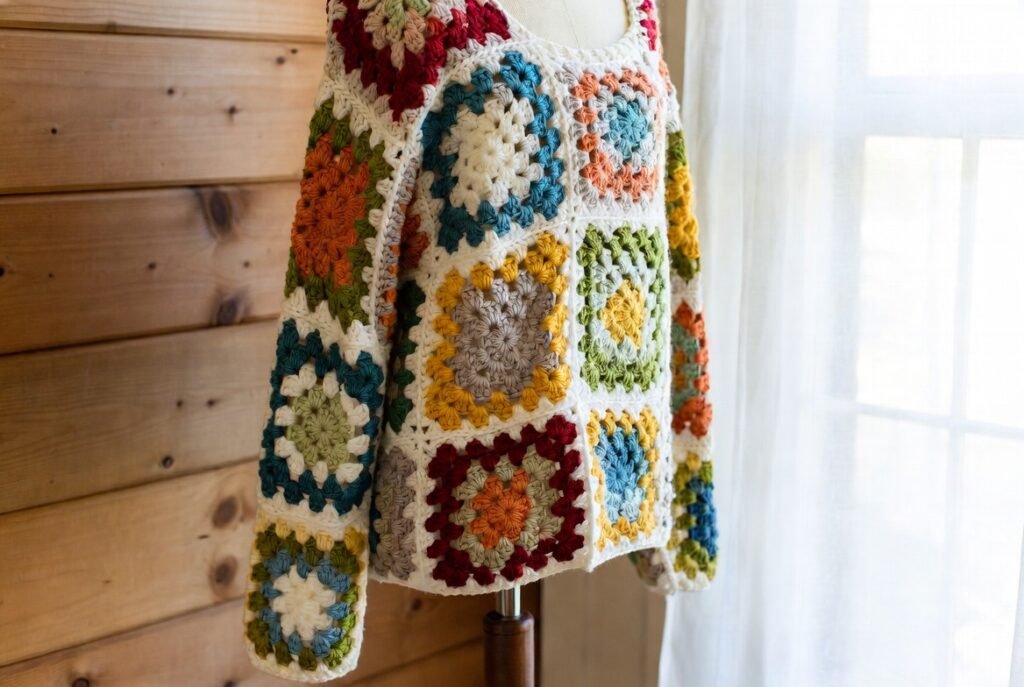
Granny Square Sweater – Making Tutorial
Materials:
- Medium-weight (worsted) yarn in 4–6 colors
- Crochet hook size H (5 mm)
- Stitch markers
- Yarn needle
- Scissors
- Measuring tape
Stitches Used:
- Chain (ch)
- Slip stitch (sl st)
- Double crochet (dc)
- Single crochet (sc)
Step-by-Step Instructions:
Step 1: Make Granny Squares
- Chain 4, join to form a ring.
- Round 1: Ch 3 (counts as dc), 2 dc in ring, ch 2, 3 dc in ring, ch 2, repeat 2x, join with sl st to top of first ch 3.
- Round 2: Sl sit into the next ch-2 corner, ch 3, 2 dc, ch 2, 3 dc in the same corner. 3 dc, ch 2, 3 dc in remaining corners. Join.
- Round 3+: Repeat the corner pattern, changing yarn color for each round for a patchwork look.
- Make 16–20 squares, depending on size.
Step 2: Join Squares
- Arrange squares: 4 for back, 4 for front, 4 for each sleeve.
- Join squares with slip stitch or whip stitch, leaving gaps for the neckline and armholes.
Step 3: Assemble Panels
- Seam shoulder squares first.
- Attach sleeves to armholes.
- Sew side panels for the body and sleeves.
Step 4: Neckline & Edging
- Pick up stitches around the neckline.
- Single crochet or half double crochet around the neckline for a neat finish.
- Optionally, add single crochet edging at the hem and sleeve cuffs.
Step 5: Finishing
- Weave in all ends.
- Block squares gently to even shape.
- Optional: Add fringe or decorative buttons for style.
Tips:
- Mix colors randomly or plan a gradient.
- Ensure each square has the same stitch count for symmetry
Hooded Sweater
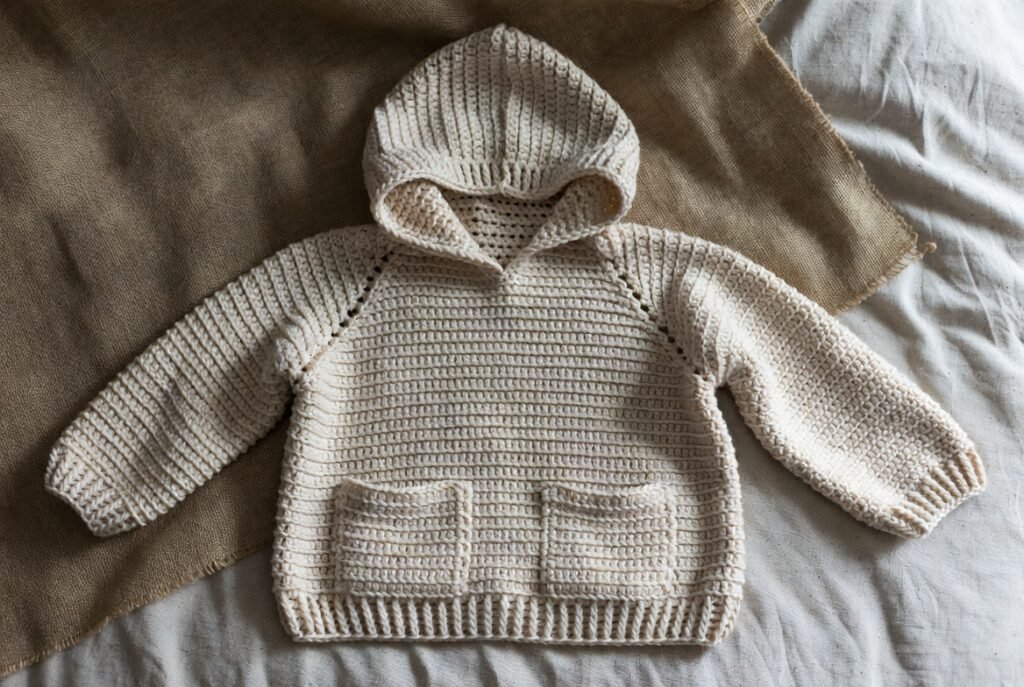
Hooded Sweater – Making Tutorial
Materials:
- Worsted-weight yarn
- Crochet hook size I (5.5 mm)
- Stitch markers
- Yarn needle
- Measuring tape
Stitches Used:
- Chain (ch)
- Single crochet (sc)
- Half double crochet (hdc)
- Double crochet (dc)
Step 1: Back Panel
- Ch width = chest measurement
- Work rows in dc or hdc until the panel reaches shoulder height.
Step 2: Front Panels
- Make two identical rectangles.
- Shape the neckline by decreasing stitches near the top 6–8 rows.
Step 3: Sleeves
- Crochet rectangle starting at cuff.
- Increase gradually for elbow and shoulder width.
- Make 2 sleeves.
Step 4: Assembly
- Seam shoulders first, leaving space for the hood.
- Attach sleeves to armholes.
- Sew side seams from cuff to hem.
Step 5: Hood
- Pick up stitches along the neckline.
- Work rows in dc, increasing in the center of the back for a rounded hood shape.
- Continue until the desired hood depth.
- Optionally, add a border around the hood.
Step 6: Finishing
- Add ribbed cuffs and hem using sc or hdc.
- Weave in all ends.
- Block lightly to shape.
Tips:
- Use soft yarn for comfort.
- Hoods can be oversized for a relaxed fit.
Kids Sweater
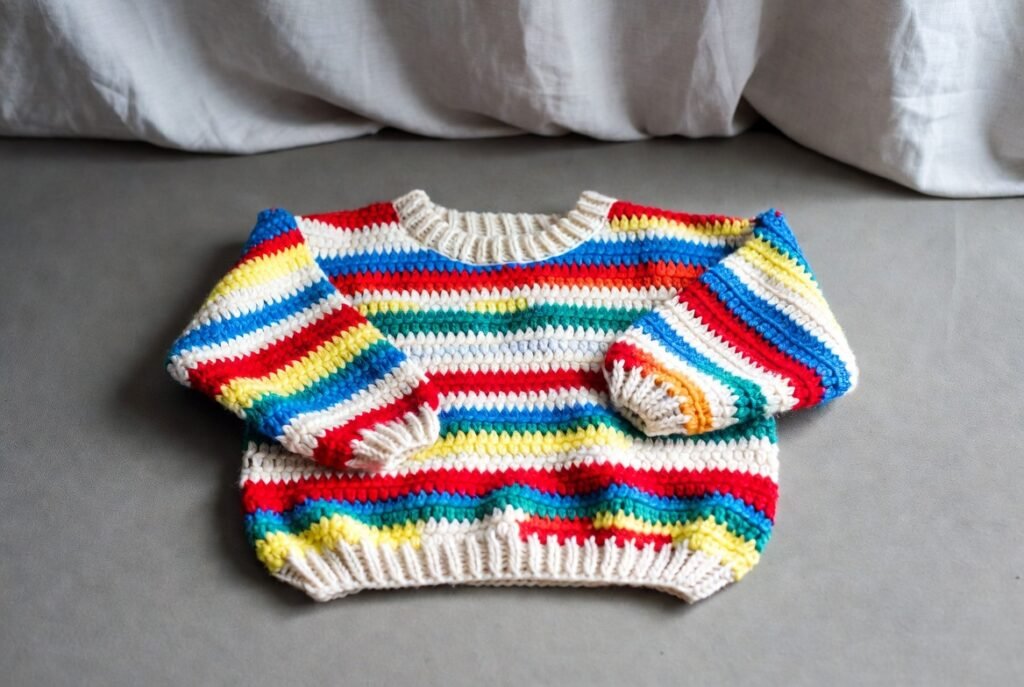
Kids Sweater – Making Tutorial
Materials
- DK-weight yarn
- Crochet hook G (4 mm)
- Stitch markers
- Yarn needle
Stitches Used:
- Chain (ch)
- Single crochet (sc)
- Half double crochet (hdc)
- Double crochet (dc)
Step 1: Back Panel
- Ch width = chest measurement.
- Work rows in dc to reach the desired length.
Step 2: Front Panel
- Same as back, add shallow neckline shaping if desired.
Step 3: Sleeves
- Ch width = wrist circumference.
- Work rows in dc, increasing gradually to fit the armhole.
Step 4: Assembly
- Seam shoulders first, then sides.
- Attach sleeves to armholes.
Step 5: Neckline & Hem
- Single crochet around the neckline for the finish.
- Optional: Add small borders to sleeves and hem.
Tips:
- Adjust the chain length and row count to the size of the child.
- Bright colors or stripes are fun for kids.
Baby Sweater
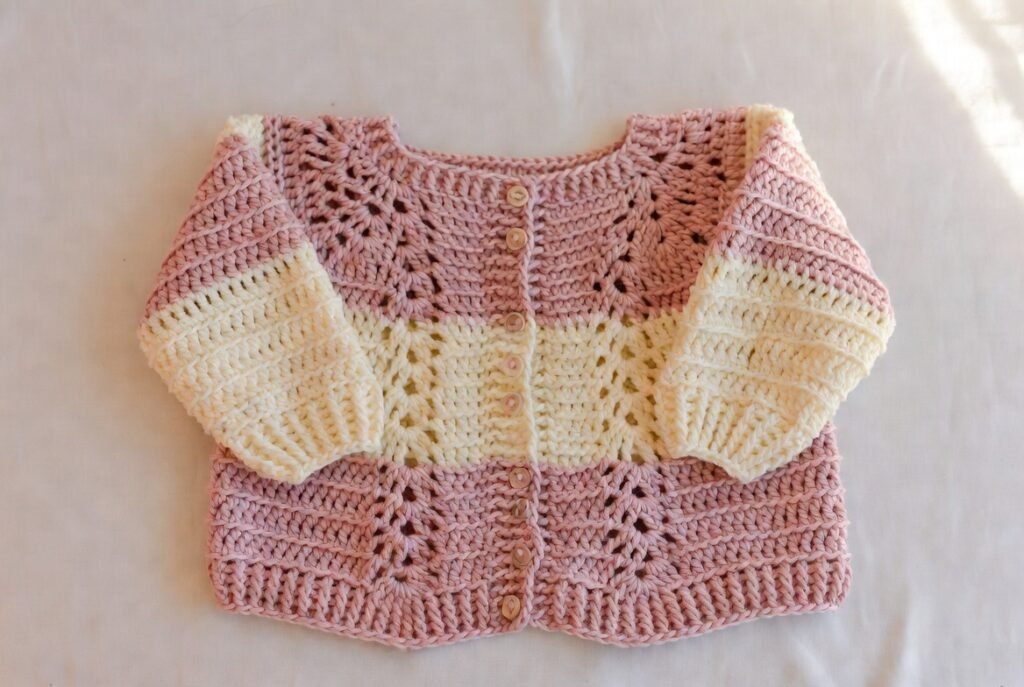
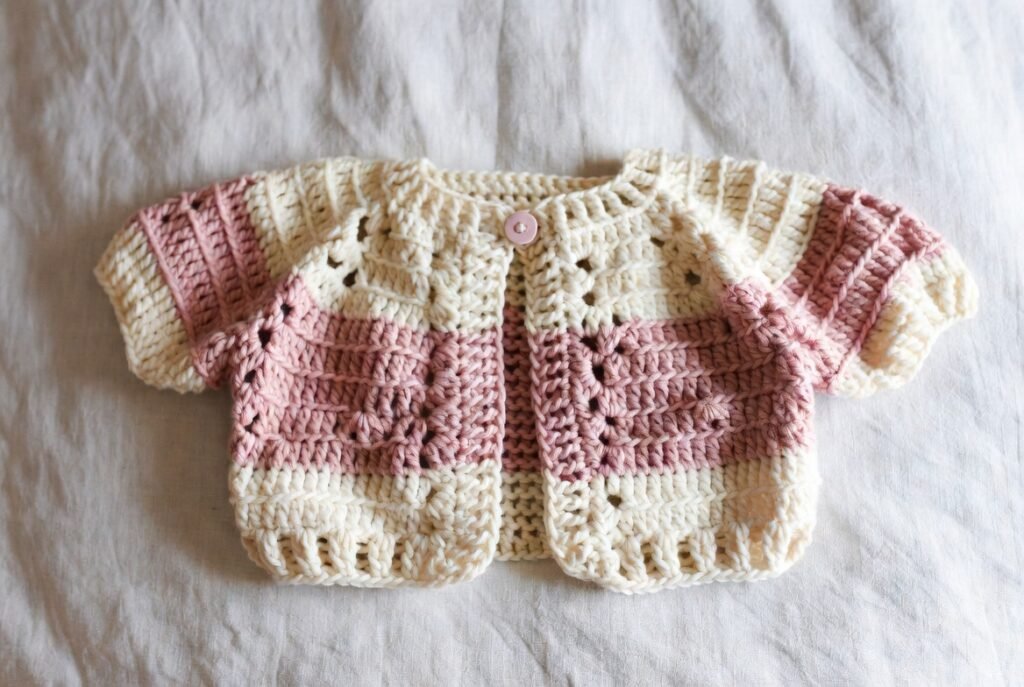
Baby Sweater – Making Tutorial
Materials:
- Soft baby yarn (sport/DK weight)
- Crochet hook F (3.75 mm)
- Small buttons
- Tapestry needle
Stitches Used:
- Chain (ch)
- Single crochet (sc)
- Double crochet (dc)
- Slip stitch (sl st)
Step 1: Back Panel
- Ch width = chest measurement
- Rows in dc until shoulder height
Step 2: Front Panels
- Split for button opening: two halves.
- Shape neckline with slight decreases at the top 4–6 rows.
Step 3: Sleeves
- Rectangles starting at the cuff, increasing gradually to armhole width.
Step 4: Assembly
- Seam shoulders, sides, attach sleeves.
Step 5: Neckline & Buttons
- Single crochet border around neckline.
- Sew on small buttons.
Step 6: Finishing
- Weave ends, block gently.
Tips:
- Use soft hypoallergenic yarn.
- Make sure buttons are secure for baby safety.
Plus-Size Sweater
Plus-Size Sweater – Making Tutorial
Materials:
- Bulky or worsted yarn
- Crochet hook I (5.5 mm)
- Stitch markers
- Measuring tape
Stitches Used:
- Chain (ch)
- Double crochet (dc)
- Half double crochet (hdc)
- Slip stitch (sl st)
Step 1: Back Panel
- Ch = chest measurement + ease
- Work rows to the desired sweater length
Step 2: Front Panels
- Same as back, decrease for neckline if desired
Step 3: Sleeves
- Ch width = wrist measurement
- Work rows, increasing gradually to shoulder width
Step 4: Assembly
- Seam shoulders, sides, attach sleeves
Step 5: Neckline & Edging
- Ribbed sc or hdc border
- Optional hem and cuffs
Step 6: Finishing
- Weave ends, block to shape
Tips:
- Use an oversized fit for comfort and layering
- Adjust stitch count for proper plus-size measurements
Crochet Cardigan
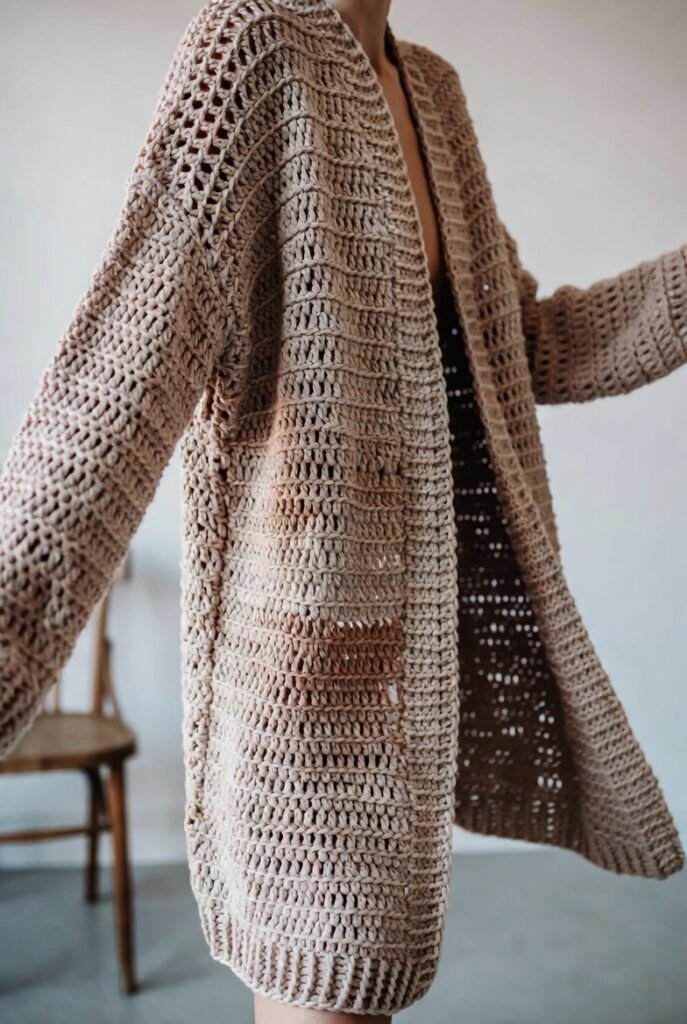
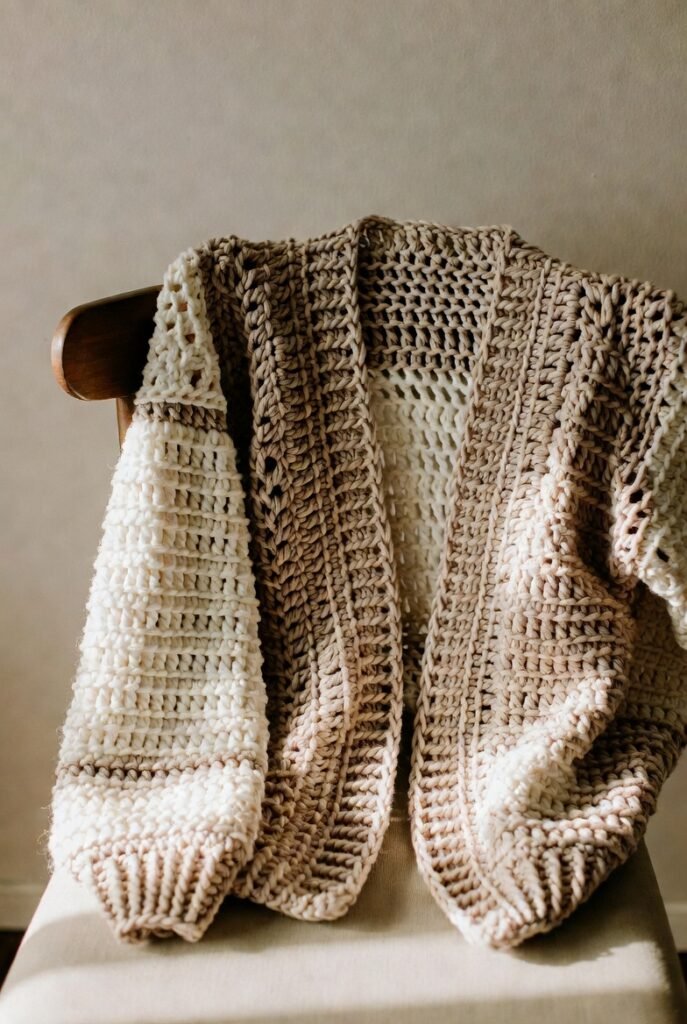
Crochet Cardigan – Making Tutorial
Materials:
- Worsted yarn
- Crochet hook H (5 mm)
- Stitch markers
Stitches Used:
- Chain (ch)
- Single crochet (sc)
- Double crochet (dc)
- Half double crochet (hdc)
Step 1: Back Panel
- Ch width = back measurement
- Rows = desired length
Step 2: Front Panels
- Make two rectangles the same length as the back
- Leave an opening for the front
Step 3: Sleeves
- Ch width = wrist measurement
- Rows with gradual increases for the armhole
Step 4: Assembly
- Join shoulders, side seams, attach sleeves
Step 5: Front Edging & Hem
- Single crochet or ribbing around front edges
- Add optional pockets
Step 6: Finishing
- Weave ends, block lightly
Tips:
- Open-front cardigans allow layering
- Cotton-wool blends work for drape
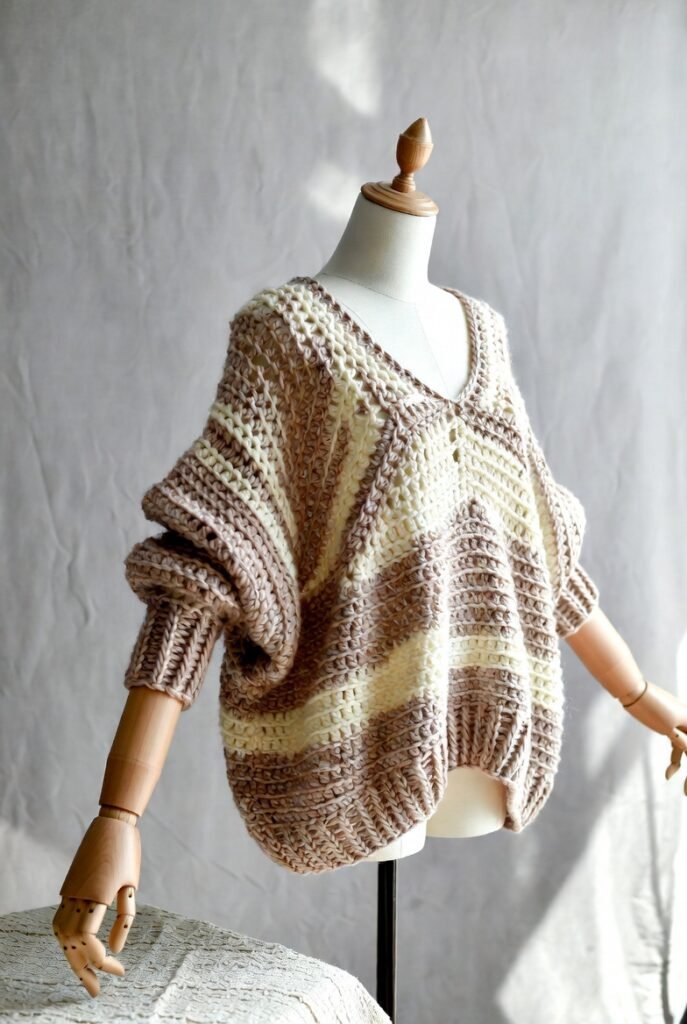
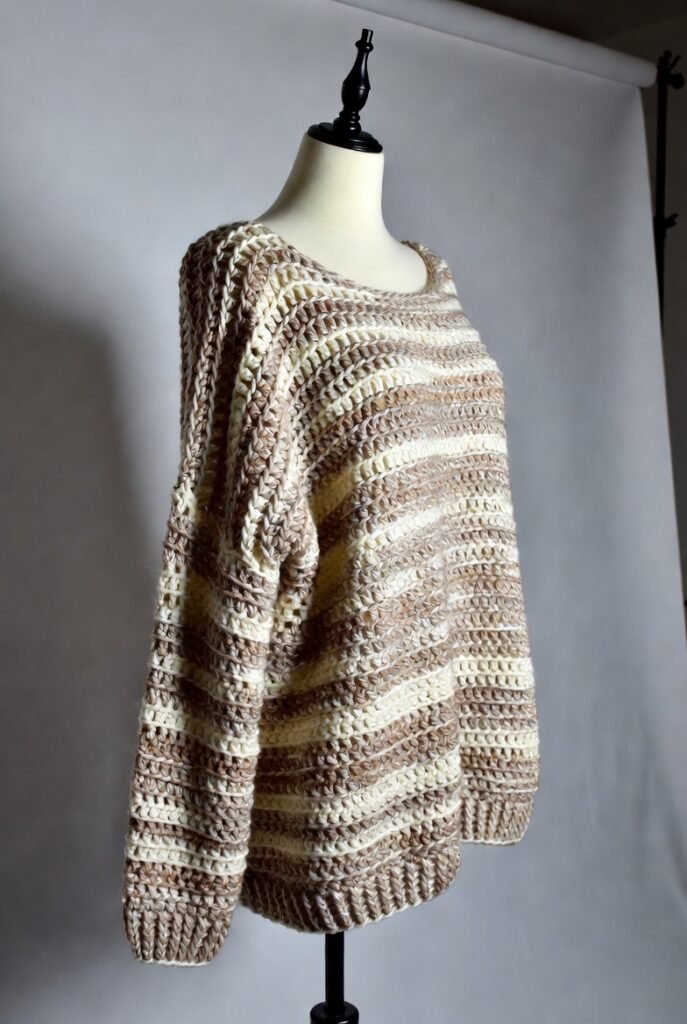
Lightweight Summer Sweater
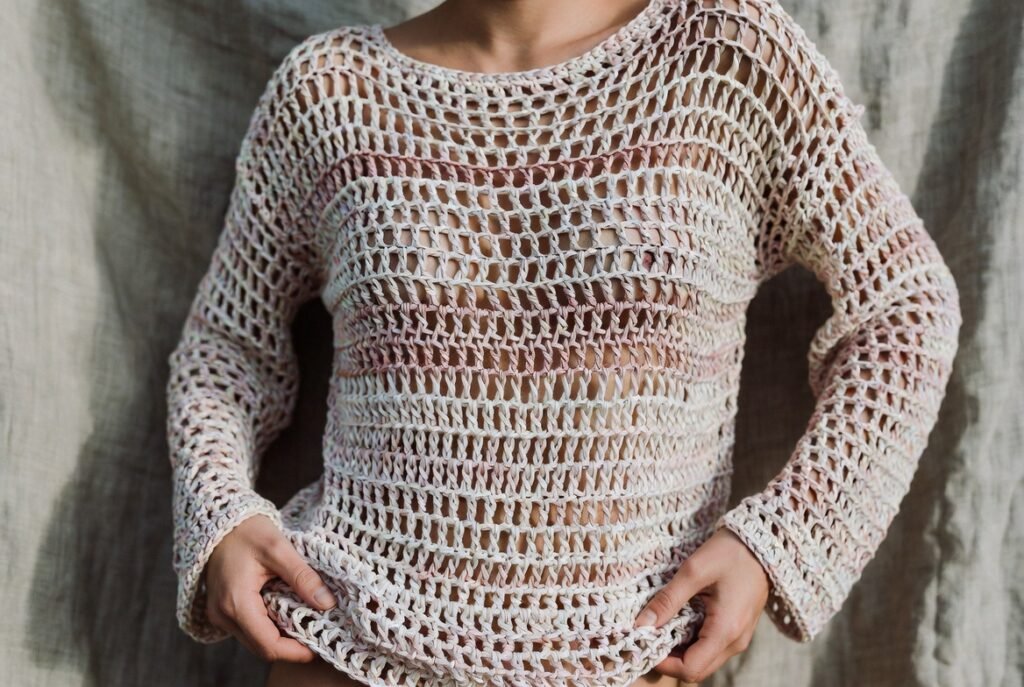
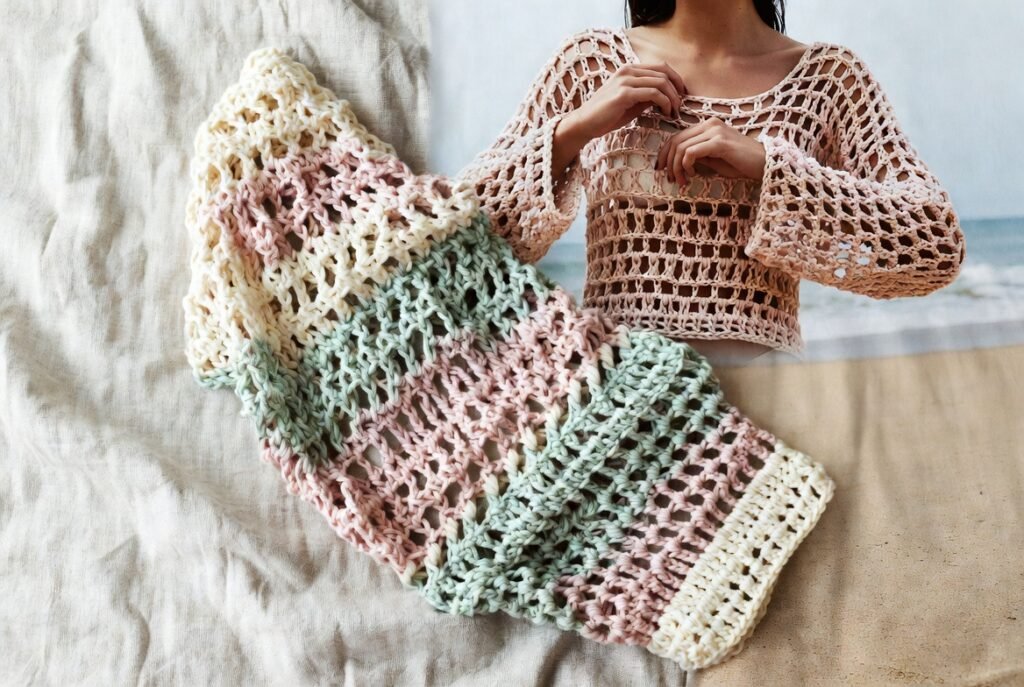
Lightweight Summer Sweater – Making Tutorial
Materials:
- Cotton or bamboo DK yarn
- Crochet hook G (4 mm)
- Stitch markers
Stitches Used:
- Chain (ch)
- Double crochet (dc)
- Half double crochet (hdc)
Step 1: Back Panel
- Ch width = chest measurement
- Rows in airy stitch (e.g., mesh or shell)
Step 2: Front Panels
- Same as back, shape neckline
Step 3: Sleeves
- Airy stitch rectangles, start narrow at the cuff, increase to the armhole
Step 4: Assembly
- Join shoulders, side seams, attach sleeves
Step 5: Edging
- Simple sc border around hem, sleeves, neckline
Step 6: Finishing
- Weave ends, block for light, breathable fit
Tips:
- Open mesh stitches improve airflow
- Pastel colors or neutrals are best for summer
Chunky Winter Sweater
Chunky Winter Sweater – Making Tutorial
Materials:
- Bulky or super bulky yarn
- Crochet hook L (8 mm)
- Stitch markers
Stitches Used:
- Chain (ch)
- Double crochet (dc)
- Half double crochet (hdc)
Step 1: Back Panel
- Ch width = chest measurement
- Work rows in chunky stitches to the desired length
Step 2: Front Panels
- Same as back, shape neckline
Step 3: Sleeves
- Start narrow at the cuff, increase gradually to the shoulder width
Step 4: Assembly
- Join panels, shoulder seams first
- Attach sleeves
Step 5: Neckline & Edging
- Ribbed sc border for cuffs, hem, neckline
- Optional front button band
Step 6: Finishing
- Weave ends, lightly block
Tips:
- Oversized fit keeps warm
- Wool blends prevent itchiness
How to Pick the Right Crochet Sweater Pattern
Choose patterns with clear steps, multiple sizes, photos, and yarn notes. Read reviews. Check finished projects.
If instructions confuse you, skip the pattern.
Tips for a Better Fit
Make a gauge swatch. Always.
Block panels before seaming. Better shape.
Use top‑down patterns to test fit early.
Start with light colors to see stitches clearly.
Practice finishing skills. Ribbing. Seaming. Edging.
Fix Common Problems
Too tight? Bigger hook. Check gauge.
Sleeves uneven? Count rows. Use markers.
Neckline loose? Add ribbing.
Panels curling? Block them.
FAQ
What is the easiest crochet sweater pattern?
A drop‑shoulder sweater with basic stitches.
How much yarn do I need for a crochet sweater?
About 1000–1800 yards for adult sizes.
Can I crochet a sweater without sewing?
Yes. Use a seamless or top‑down crochet sweater pattern.
How long does it take?
One to two weeks for beginners working daily.
Are free crochet sweater patterns good?
Many are excellent. Check photos and reviews.
Final Thoughts
Your first crochet sweater pattern won’t be perfect. That’s normal. Each one gets better.
Pick yarn. Choose a crochet sweater pattern. Start today.