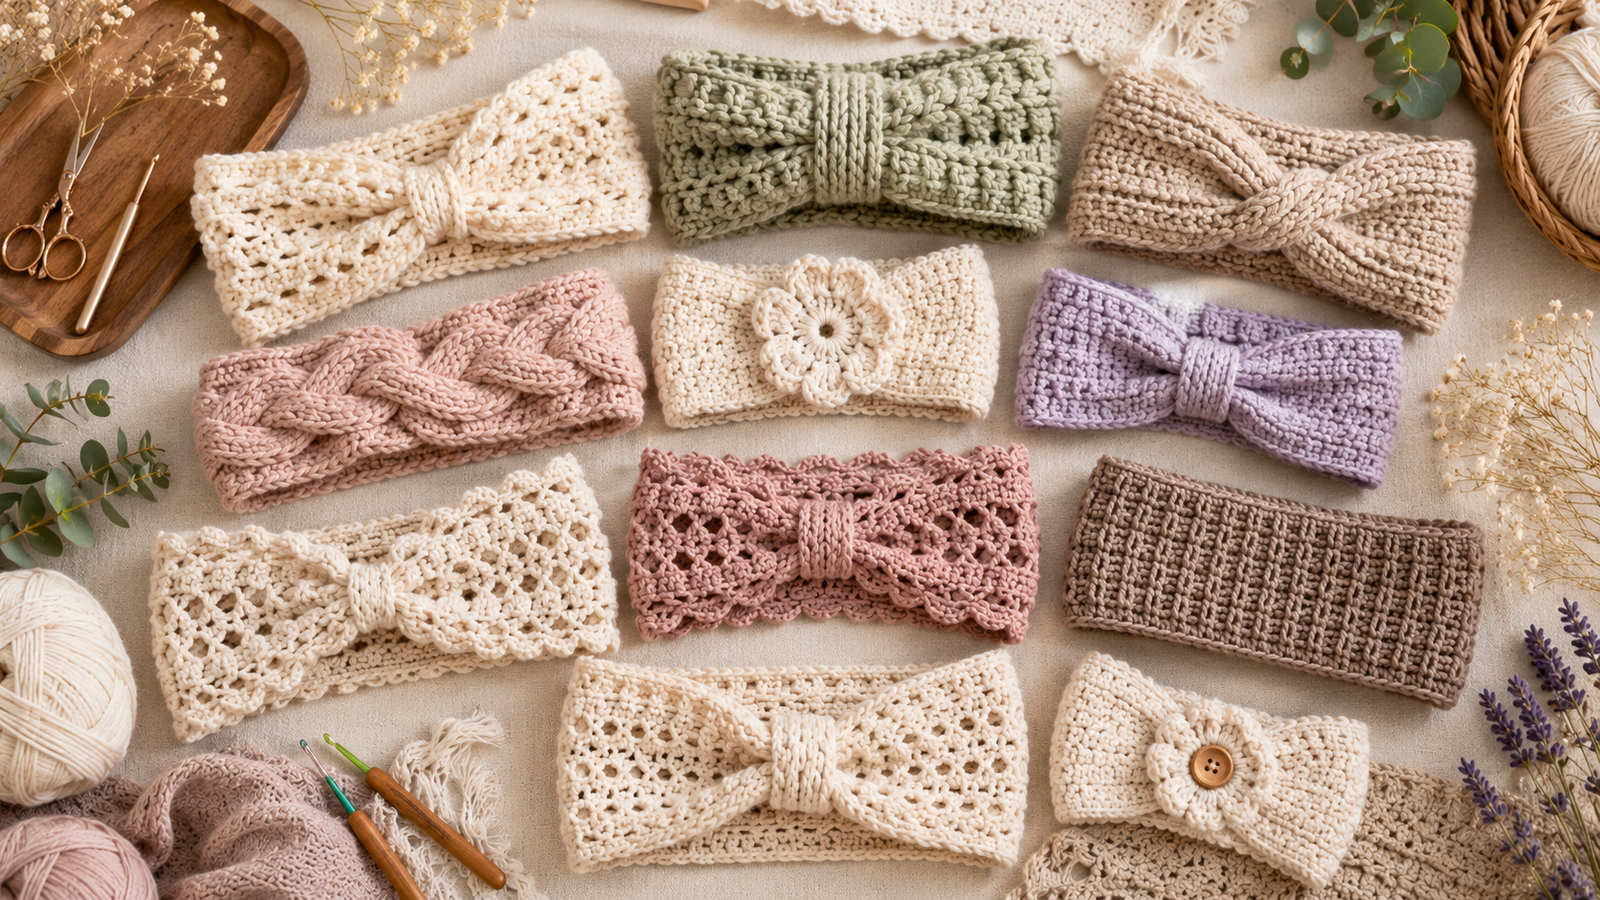
Crochet headbands are one of the best projects for beginners and experienced makers alike. They work up quickly, require very little yarn, and make thoughtful handmade gifts. Whether you’re looking for a cozy crochet ear warmer for winter or a lightweight crochet headband for summer, there’s a design to suit every style and season.
In this guide, you’ll discover crochet headband ideas that are practical, stylish, and fun to make. These projects are perfect for using leftover yarn, building your crochet skills, and creating handmade accessories you’ll actually wear.
Why Crochet Headbands Are So Popular
There are many reasons crocheters love making headbands:
- Quick and satisfying projects
- Great for beginners
- Require minimal yarn
- Perfect for gifts
- Easy to customize
- Excellent craft fair sellers
- Suitable for all seasons
A crochet headband can often be completed in just a few hours, making it one of the most rewarding crochet accessories you can create.
How to Choose the Right Crochet Headband Pattern
Before selecting a pattern, consider:
Season
- Winter: Thick ear warmers and twisted headbands
- Spring: Floral and lightweight styles
- Summer: Cotton headbands and boho wraps
- Fall: Textured and cable designs
Skill Level
Beginners should look for:
- Single crochet patterns
- Half double crochet patterns
- Ribbed headbands
- Simple ear warmers
Intermediate crocheters can try:
- Cable crochet headbands
- Braided designs
- Textured stitch patterns
- Advanced twist constructions
Yarn Type
The best yarn depends on the style you’re creating:
- Acrylic yarn for warm winter accessories
- Cotton yarn for summer headbands
- Wool blends for ear warmers
- Velvet yarn for luxurious winter projects
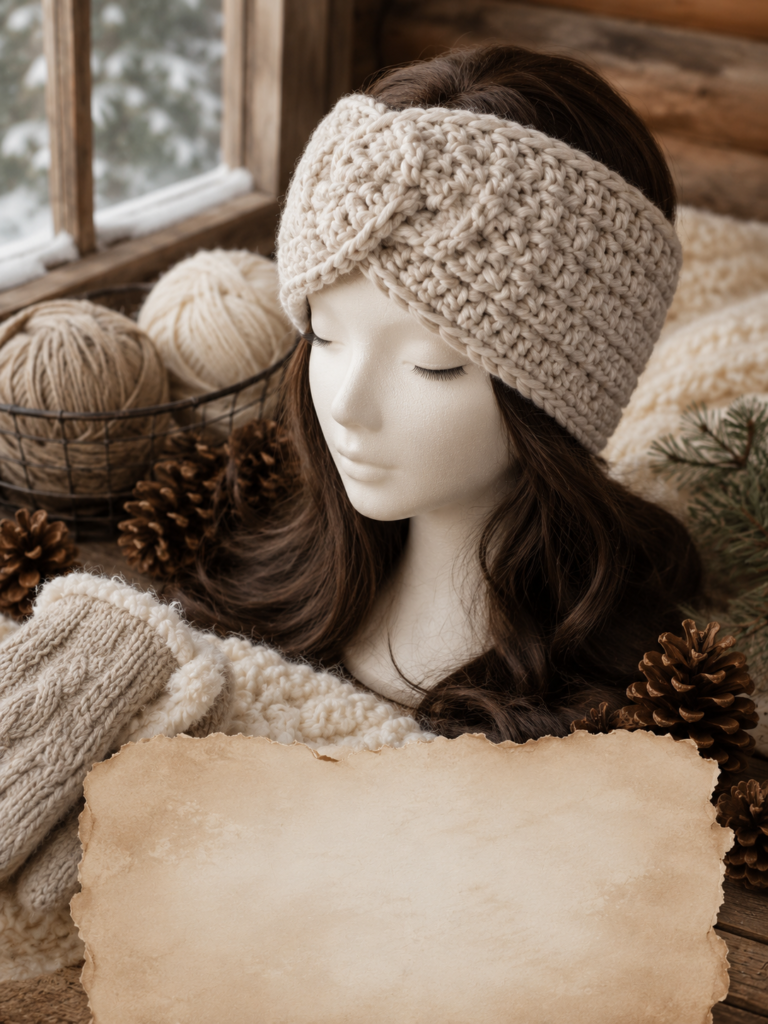
Twisted Crochet Headband
The crochet twisted headband remains one of the most popular designs online.
Why You’ll Love It
- Modern appearance
- Beginner-friendly
- Works with many yarn weights
- Stylish and comfortable
The twist at the front creates a boutique look without requiring advanced crochet skills.

Best Yarn Choices
- Worsted-weight acrylic
- Merino wool blends
- Chunky yarn for extra warmth
Step-by-Step Tutorial
- Measure the head circumference.
- Chain enough stitches to reach approximately 20 inches.
- Work half double crochet stitches in the back loop only for a ribbed effect.
- Continue rows until the strip measures about 4 inches wide.
- Fasten off and leave a long tail.
- Fold both ends into a pretzel shape.
- Overlap the folded ends to form the twist.
- Sew securely through all layers.
- Weave in ends.
- Block lightly if needed.
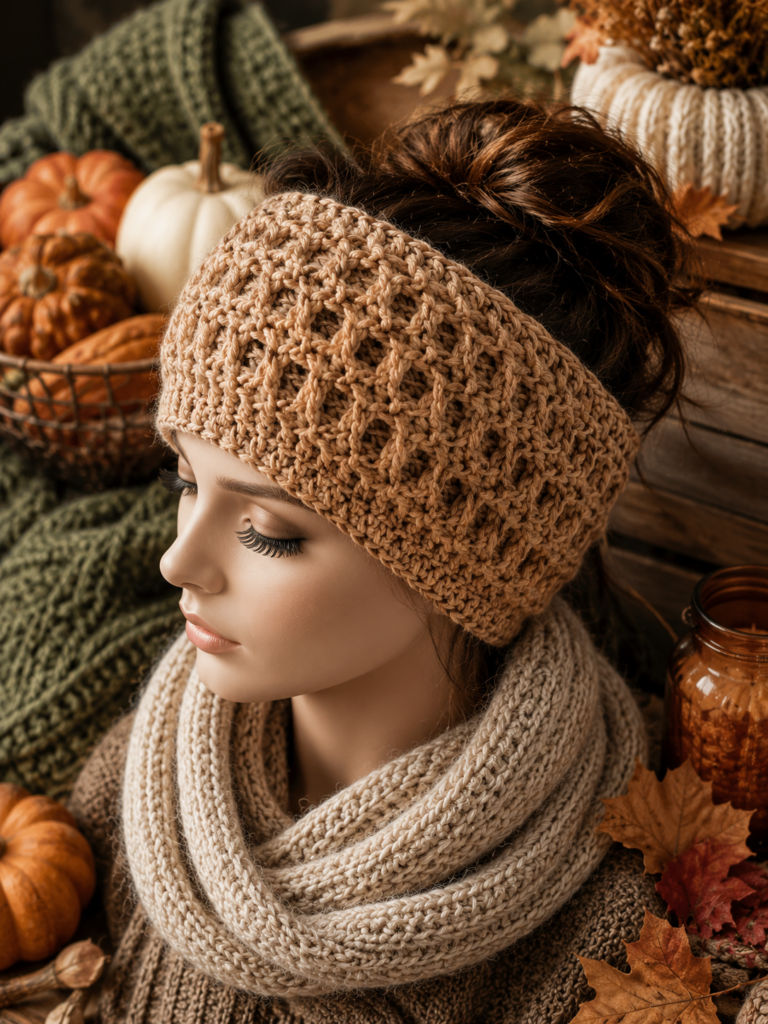
Classic Crochet Ear Warmer
A crochet ear warmer is both fashionable and practical.
Perfect For
- Cold winter walks
- Outdoor activities
- Quick gifts
- Craft fair inventory
This design covers the ears while keeping your hairstyle intact.
Step-by-Step Tutorial
- Chain to the desired head circumference.
- Join carefully without twisting.
- Work rows of half-double crochet.
- Continue until the desired width is reached.
- Add front post stitches for texture if desired.
- Fasten off yarn.
- Sew ends together if worked flat.
- Weave in loose ends.
- Shape and block.
- Wear immediately for warmth.
Best Stitches
Many crocheters consider half-double crochet and front-post stitches ideal for ear warmers because they provide warmth and flexibility.
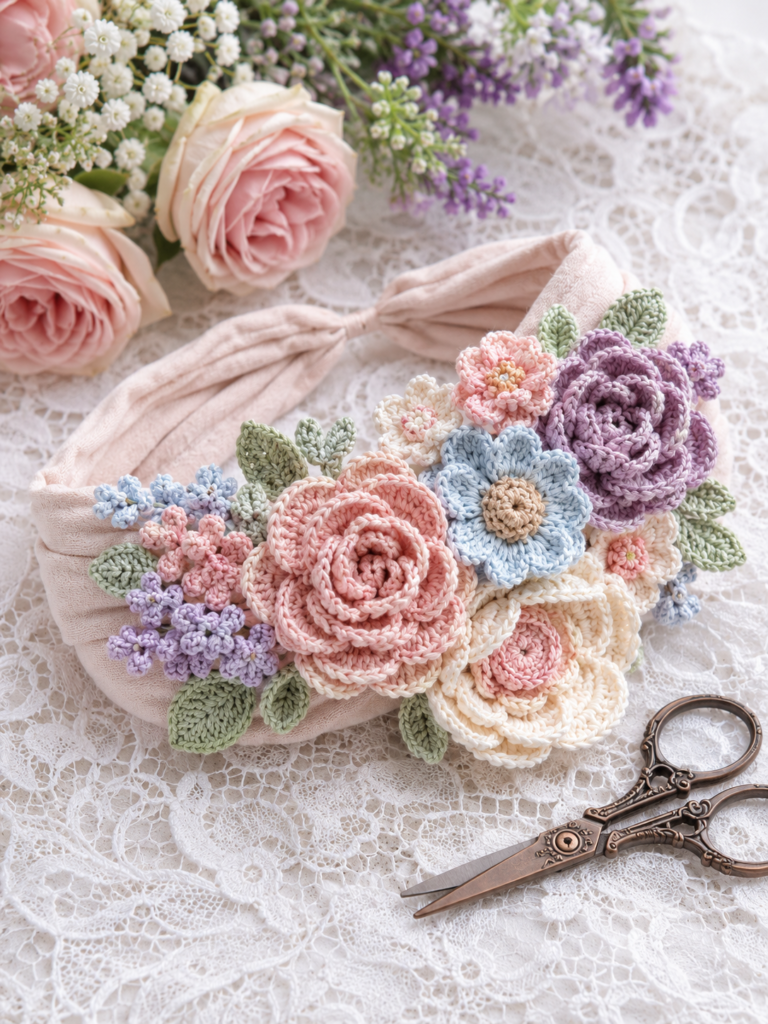
Crochet Flower Headband
A crochet flower headband adds a feminine and playful touch to any outfit.
Popular Flower Options
- Roses
- Daisies
- Sunflowers
- Layered blossoms
These headbands are especially popular for babies, toddlers, and spring fashion.
Step-by-Step Tutorial
- Create a simple crochet headband strip.
- Measure for the desired size.
- Join ends to form a circle.
- Crochet a flower center ring.
- Add petals around the center.
- Create multiple flowers if desired.
- Sew flowers onto the headband.
- Add crochet leaves for decoration.
- Secure all embellishments tightly.
- Weave in ends and shape flowers.
Styling Ideas
Pair pastel flowers with neutral bands for an elegant look or use bright colors for a cheerful accessory.
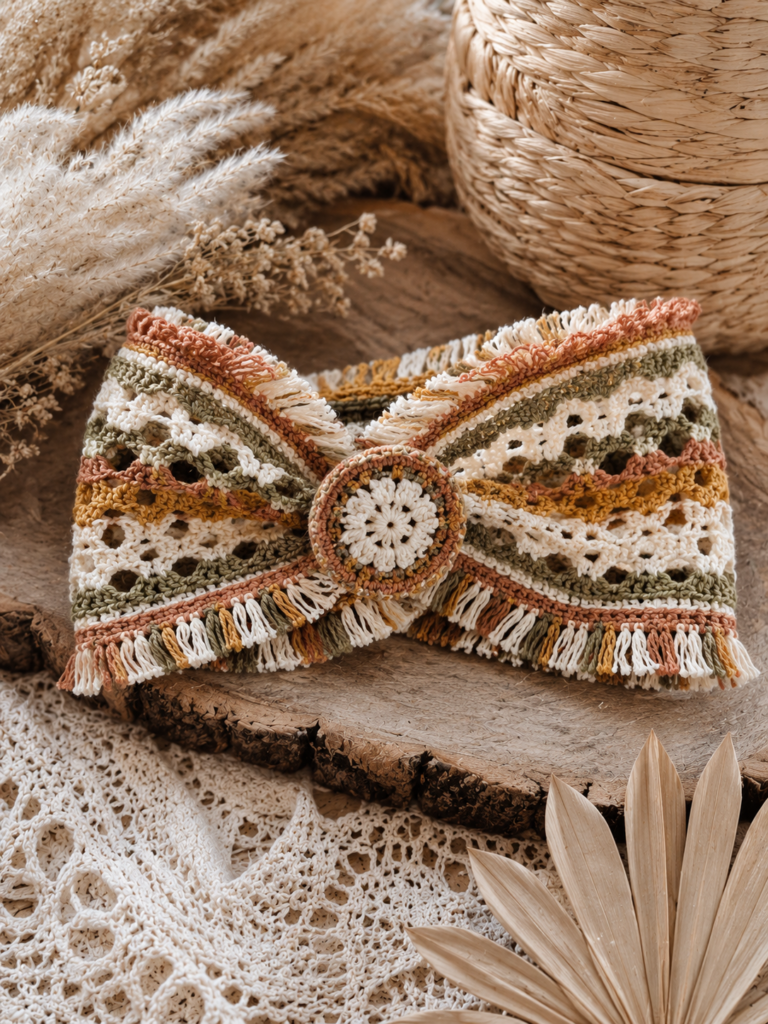
Boho Crochet Headband
Boho crochet accessories continue to trend on Pinterest.
Features
- Relaxed styling
- Lightweight construction
- Natural fibers
- Festival-inspired designs
Boho headbands often incorporate openwork stitches and earthy color palettes.
Step-by-Step Tutorial
- Select lightweight cotton yarn.
- Chain to the desired head size.
- Work open lace stitch patterns.
- Continue until the desired width is achieved.
- Add decorative eyelets.
- Fasten off yarn.
- Attach fringe if desired.
- Join ends securely.
- Block to open lace stitches.
- Style with casual outfits.
Ideal Yarn
Cotton yarn works beautifully because it keeps the headband lightweight and breathable.
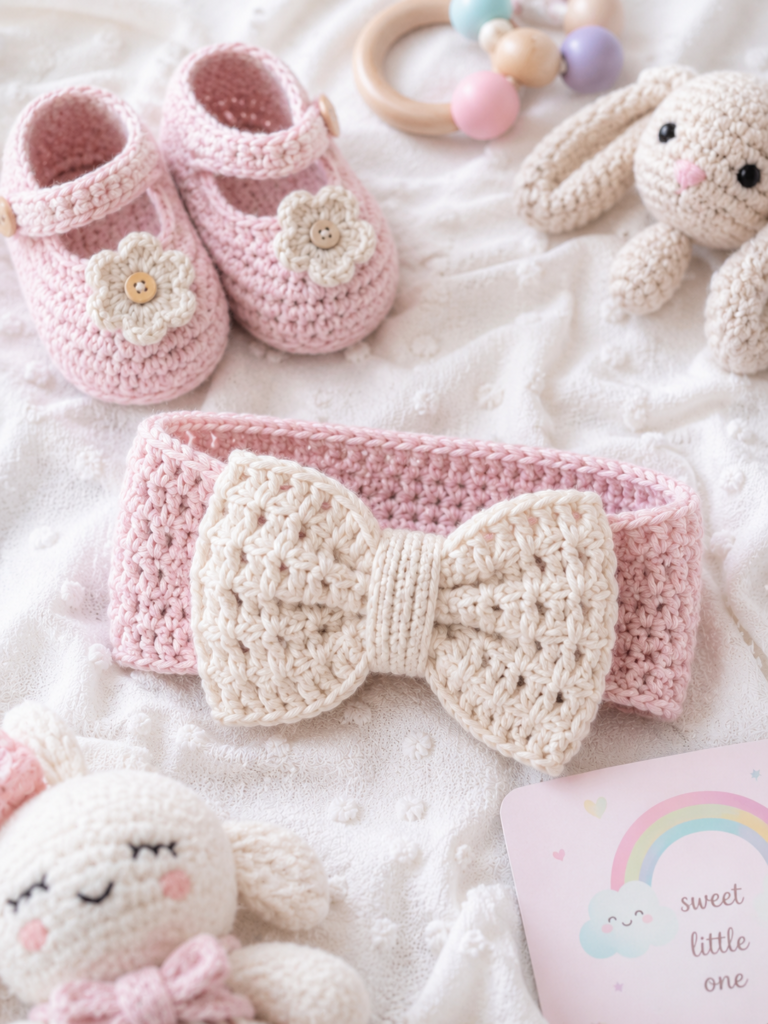
Crochet Bow Headband
A crochet bow headband is cute, versatile, and beginner-friendly.
Why It’s Popular
- Quick to make
- Great for babies and girls
- Uses little yarn
- Makes adorable gifts
The bow can be oversized for a statement piece or small for everyday wear.
Step-by-Step Tutorial
- Crochet a long rectangular strip for the headband.
- Join ends to fit head size.
- Crochet a separate rectangle for the bow.
- Fold the bow rectangle in half.
- Pinch the center tightly.
- Wrap yarn around the center to create the bow shape.
- Secure with stitches.
- Attach the bow to the headband.
- Weave in all loose ends.
- Shape and adjust before wearing.
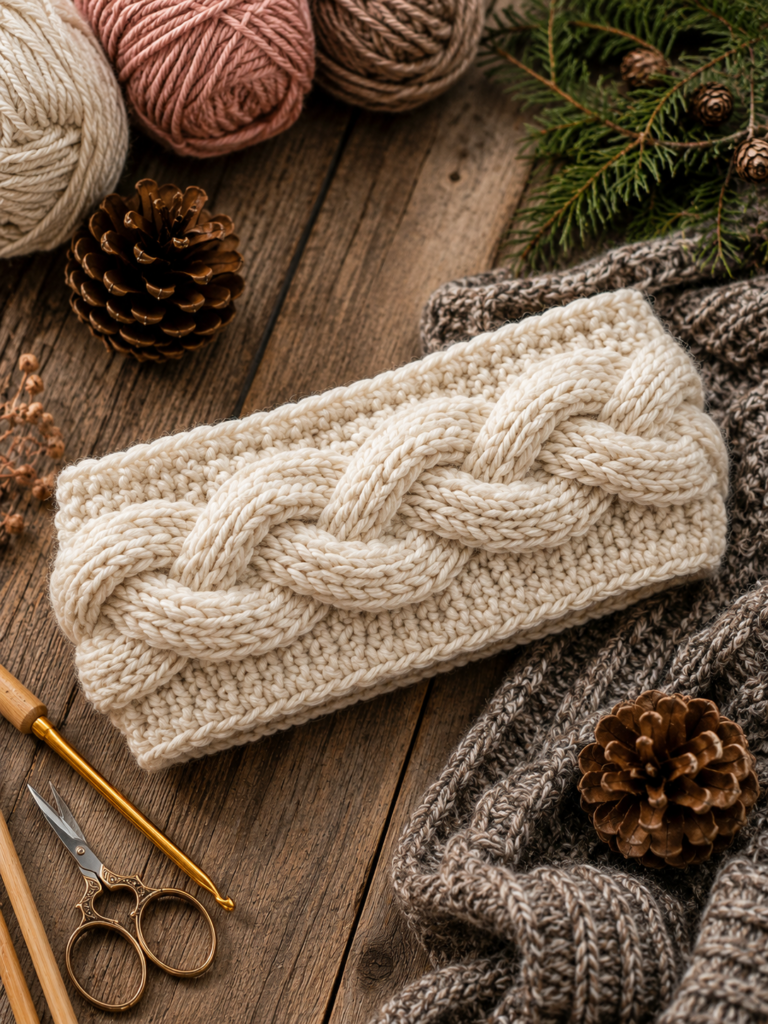
Crochet Cable Headband
Cable crochet headbands provide a sophisticated knitted appearance.
Benefits
- Rich texture
- Luxurious look
- Warm and cozy
- Excellent winter accessory
Although cables appear advanced, many crochet cable patterns are surprisingly approachable.
Step-by-Step Tutorial
- Measure head circumference.
- Chain the desired width of the headband.
- Work foundation rows using half double crochet.
- Mark the cable section in the center.
- Use front post double crochet stitches to create cable texture.
- Cross stitches according to your cable design.
- Continue alternating cable rows and background rows.
- Crochet until the headband reaches the correct length.
- Join both ends using slip stitches or sewing.
- Weave in ends and lightly block for a polished finish.
Recommended Yarn
Choose a solid-colored yarn to showcase the cable detail.
Wide Crochet Headband
A crocheted wide headband offers additional warmth and coverage.
Best Uses
- Winter weather
- Outdoor sports
- Hiking
- Everyday wear
The extra width helps keep ears and forehead protected from cold temperatures.
Popular Stitches
- Ribbed stitches
- Alpine stitch
- Waffle stitch
- Moss stitch
Step-by-Step Tutorial
- Measure head circumference.
- Chain enough stitches for the desired width.
- Work rows of textured stitches, such as waffle stitch.
- Continue until the band reaches the head circumference.
- Check fit before finishing.
- Add additional rows for extra coverage if desired.
- Fasten off yarn.
- Join ends securely.
- Weave in all loose ends.
- Block gently to improve shape.
Crochet Baby Headband
Crochet baby headbands are among the most popular handmade gifts.
Why Parents Love Them
- Soft and comfortable
- Adorable photo props
- Personalized gifts
- Suitable for baby showers
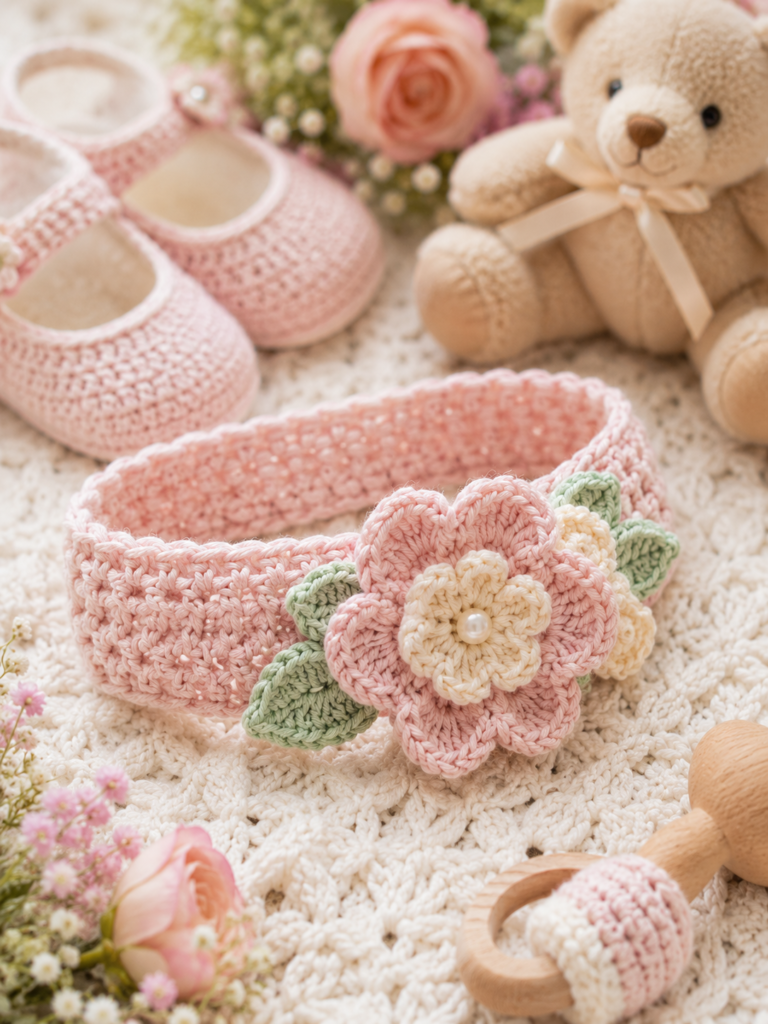
Safety Tips
Always use soft yarn and avoid embellishments that could become loose.
Popular Styles
- Flower headbands
- Bow headbands
- Stretchy bands
- Holiday-themed accessories
Step-by-Step Tutorial
- Measure the baby’s head circumference.
- Chain the appropriate length using soft yarn.
- Crochet rows of single crochet for a comfortable band.
- Join the ends to form a circle.
- Crochet a decorative flower separately.
- Add leaves or small embellishments if desired.
- Sew decorations securely to the band.
- Check for comfort and stretch.
- Weave in all yarn ends.
- Lightly shape before use.
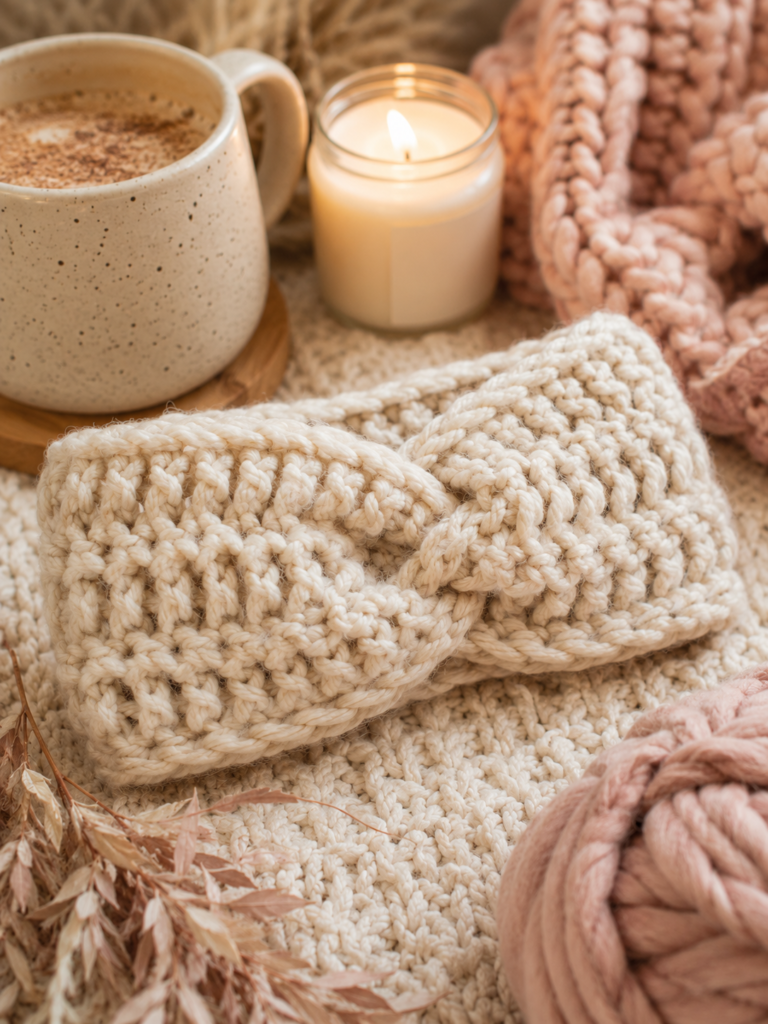
Chunky Crochet Headband
Chunky crochet headbands are perfect when you want a fast project.
Advantages
- Works up quickly
- Extra warmth
- Trendy oversized look
- Great beginner project
Many chunky headbands can be completed in under an hour.
Step-by-Step Tutorial
- Select bulky or super bulky yarn.
- Measure head circumference.
- Chain the required length.
- Work half double crochet stitches across each row.
- Continue until the desired width is reached.
- Create a twist if preferred.
- Join ends securely.
- Fasten off yarn.
- Weave in loose ends.
- Shape and wear immediately.
Best Yarn Types
- Bulky yarn
- Super bulky yarn
- Wool blends
- Velvet yarn
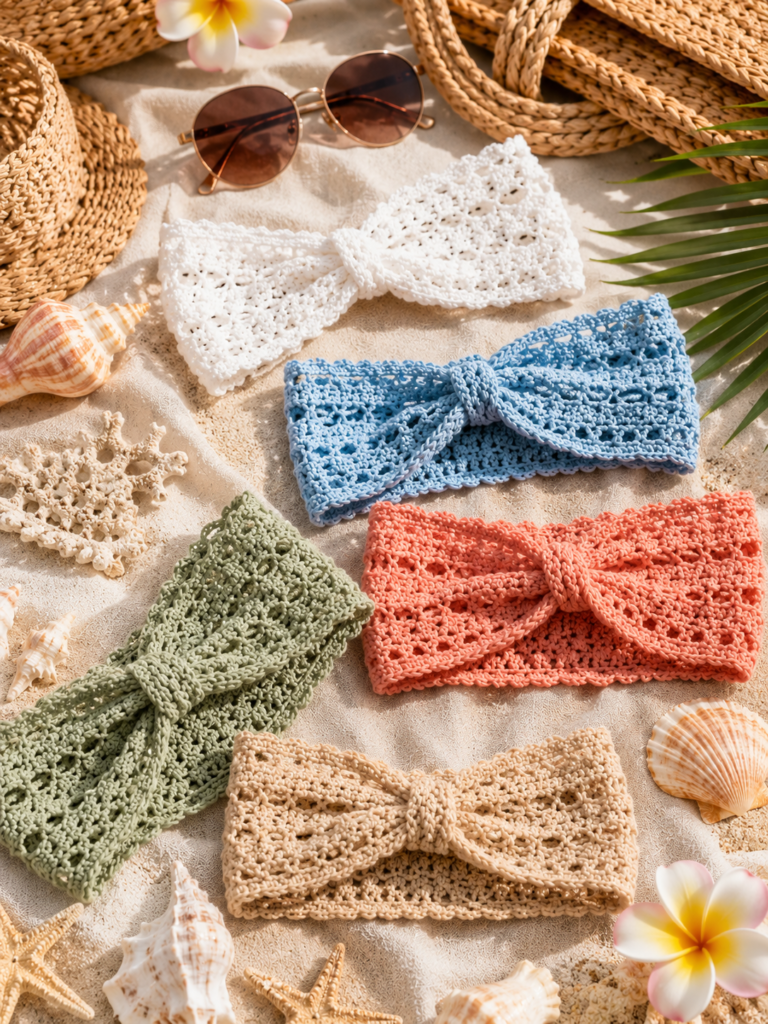
Summer Crochet Headband
A summer crochet headband focuses on comfort and breathability.
Characteristics
- Lightweight
- Moisture-friendly
- Stylish
- Easy to wear
Step-by-Step Tutorial
- Choose lightweight cotton yarn.
- Measure head circumference.
- Chain to the desired length.
- Work open lace stitch patterns for airflow.
- Continue until the desired width is reached.
- Add decorative picot edges if desired.
- Fasten off yarn.
- Join ends neatly.
- Block lightly to enhance lace details.
- Wear with summer outfits and beachwear
Recommended Materials
Cotton yarn is the top choice because it remains cool and breathable even on hot days.
Popular Summer Styles
- Skinny headbands
- Tie-back headbands
- Beach-inspired wraps
- Openwork designs
How Big Should a Crochet Headband Be?
The ideal crochet headband should fit snugly without being uncomfortable.
Average Headband Sizes
| Age Group | Circumference |
| Baby | 13–16 inches |
| Toddler | 16–18 inches |
| Child | 18–20 inches |
| Teen | 20–21 inches |
| Adult | 21–23 inches |
For best results, make your finished headband approximately 1–2 inches smaller than the head circumference to allow for stretch.
What Is the Best Yarn for Crochet Headbands?
The best yarn depends on the season and intended use.
Winter Headbands
- Acrylic
- Wool
- Wool blends
- Velvet yarn
Summer Headbands
- Cotton
- Bamboo
- Cotton blends
Baby Headbands
- Soft cotton
- Baby yarn
- Lightweight acrylic
How to Crochet a Simple Headband
Creating an easy crochet headband is straightforward:
- Measure head circumference.
- Choose your yarn and hook.
- Chain the desired length.
- Crochet rows using your chosen stitch.
- Continue until desired width is reached.
- Seam the ends together.
- Add embellishments if desired.
Beginners often start with single crochet or half double crochet stitches because they’re easy to learn and create a neat fabric.
Crochet Headbands That Sell Well at Craft Fairs
If you’re looking for crochet projects to sell, headbands are a fantastic option.
Best Sellers
- Twisted headbands
- Ear warmers
- Flower headbands
- Baby headbands
- Chunky winter headbands
Tips for Higher Sales
- Offer multiple sizes.
- Use seasonal colors.
- Create matching sets.
- Display products attractively.
- Provide care instructions.
Crochet Headband Color Trends
Current crochet fashion trends include:
Neutral Colors
- Cream
- Beige
- Taupe
- Soft gray
Nature-Inspired Shades
- Sage green
- Terracotta
- Dusty rose
- Mustard yellow
Bold Choices
- Emerald
- Burgundy
- Navy blue
- Rust orange
These colors perform particularly well on Pinterest and handmade marketplaces.
Caring for Crochet Headbands
To keep your handmade crochet headband looking beautiful:
- Hand wash when possible.
- Use mild detergent.
- Lay flat to dry.
- Avoid excessive heat.
- Store in a clean, dry place.
Following proper care instructions helps maintain shape and stitch definition.
Why Crochet Headbands Make Great Gifts
Crochet headbands combine practicality and style, making them ideal handmade gifts.
They work well for:
- Birthdays
- Baby showers
- Christmas gifts
- Mother’s Day
- Teacher appreciation gifts
- Stocking stuffers
A handmade crochet headband shows thoughtfulness while remaining useful year-round.
Final Thoughts
Crochet headbands are one of the most versatile crochet accessories you can make. Whether you prefer a crochet twisted headband, a cozy crochet ear warmer, a crochet flower headband, or a lightweight summer design, there’s a pattern to suit every season and skill level.
The best part is that most crochet headband patterns require only a small amount of yarn and can be completed quickly, making them perfect for beginners, gift makers, and anyone looking for enjoyable crochet projects. Try one of these 10 crochet headband ideas and discover why they continue to be among the most loved crochet accessories year after year.
Frequently Asked Questions
What is the easiest crochet headband for beginners?
A simple rectangular headband made with single crochet or half double crochet stitches is the easiest option for beginners.
Which stitch is best for a crochet ear warmer?
Half double crochet, waffle stitch, ribbed stitches, and alpine stitch are excellent choices because they create warm, stretchy fabric.
How much yarn do I need for a crochet headband?
Most adult headbands require between 50 and 150 yards of yarn, depending on width and stitch pattern.
Can I make a crochet headband in one day?
Yes. Most crochet headbands can be completed within one to three hours.
What yarn is best for summer crochet headbands?
Cotton yarn is generally the best choice because it is lightweight, breathable, and comfortable in warm weather.