DIY Crochet Wall Hangings: Patterns, Tips & Inspiration
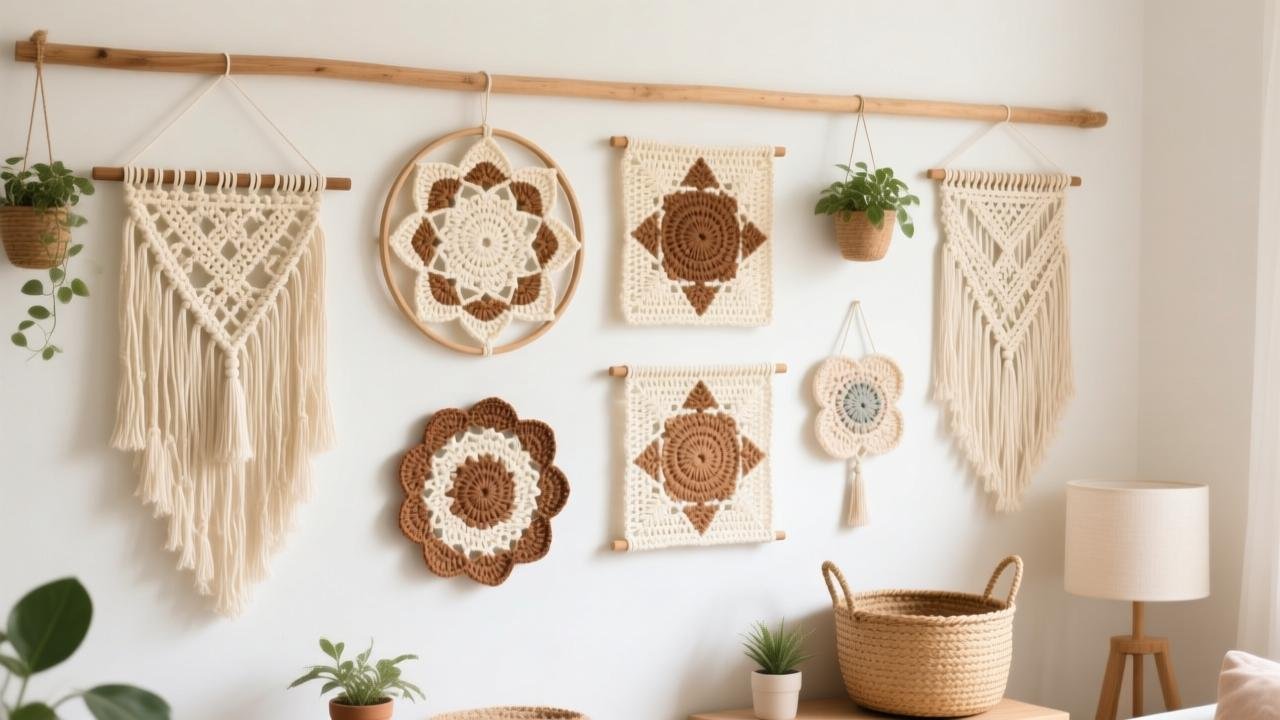
Crochet wall hangings are becoming increasingly popular in handmade home décor, offering a warm, artistic, and personalized touch to any space. From boho-inspired fringe designs to modern geometric patterns, crochet wall art lets crafters express their creativity while adding character to their walls. Whether you’re decorating a cozy bedroom, a minimalist living room, or a creative studio, crochet wall hangings provide the perfect blend of texture, color, and craftsmanship.
These beautiful pieces are crafted using various stitches, yarn types, and wooden dowels, making them incredibly versatile for any interior style. Beginners can enjoy simple patterns featuring basic stitches, while experienced crocheters can explore mandalas, layered textures, and intricate motifs. Handmade crochet wall hangings also make thoughtful gifts and are ideal for selling at markets.
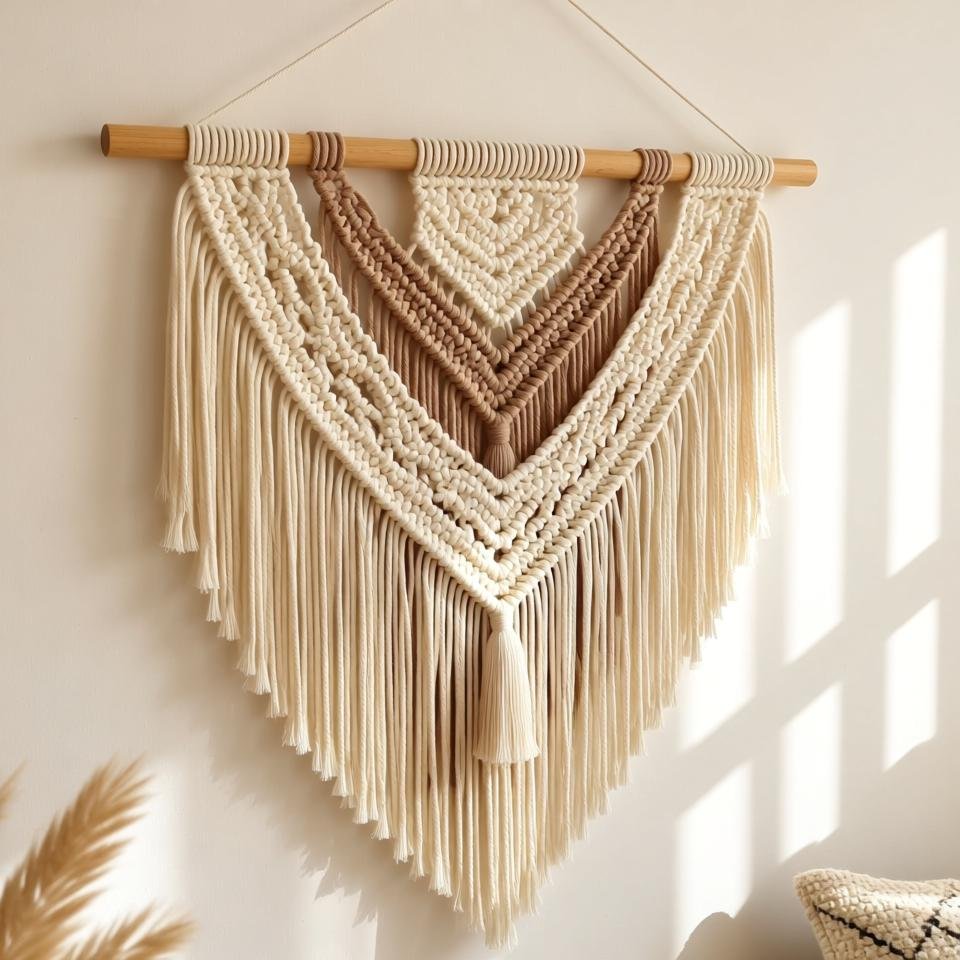
Boho Crochet Wall Hanging
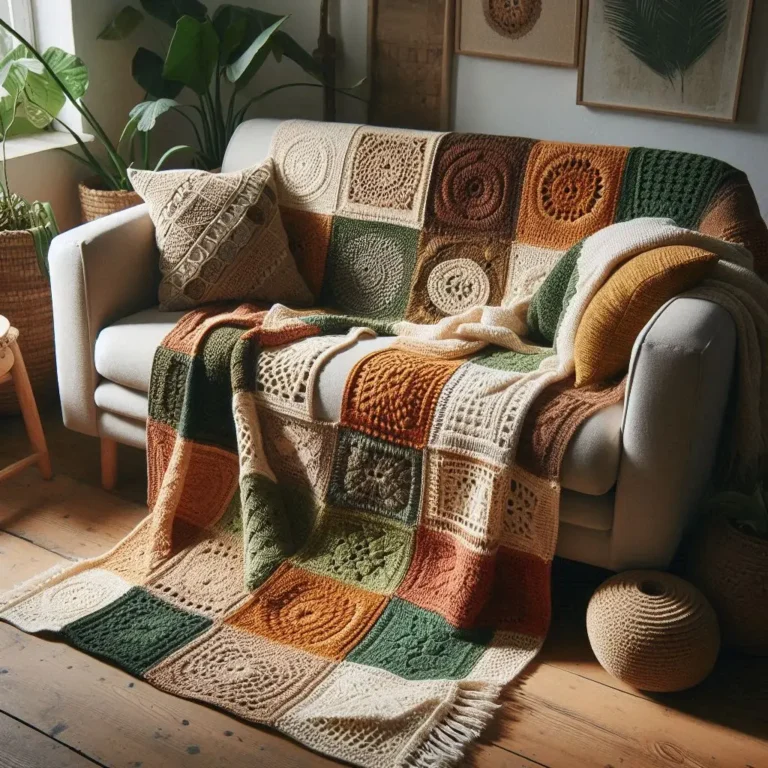
Create a stunning touch of warmth and texture in your space with this Boho Crochet Wall Hanging, crafted with soft, neutral yarn and detailed geometric stitching. This piece adds a cozy, modern-bohemian charm to bedrooms, living rooms, or creative spaces. The long fringes and delicate patterns give it a handmade feel that enhances any interior. Perfect for those who love minimalist décor with a boho twist.
Boho Crochet Wall Hanging Making Tutorial
Materials
- 4mm or 5mm hook
- Cotton or soft acrylic yarn (cream, beige)
- Wooden dowel
- Scissors
- Comb for fringe
Steps
Create the Base Panel:
- Chain 50.
- Work rows of alternating double crochet and puff stitches for texture.
Add Geometric Shapes:
- Use tapestry crochet to incorporate diamond or zigzag shapes in a contrasting tone.
Finish the Edges:
- Add a row of single crochet around the panel for clean edges.
Attach Fringe:
- Cut yarn strands 12–16 inches long.
- Loop them at the bottom edge using a lark’s head knot.
- Comb out the fringe for a softer look.
Mount on Dowel:
- Fold the top part over the dowel and stitch it closed.
Hang & Style:
- Tie a yarn strand to create a hanger.
- Brush the fringe until even.
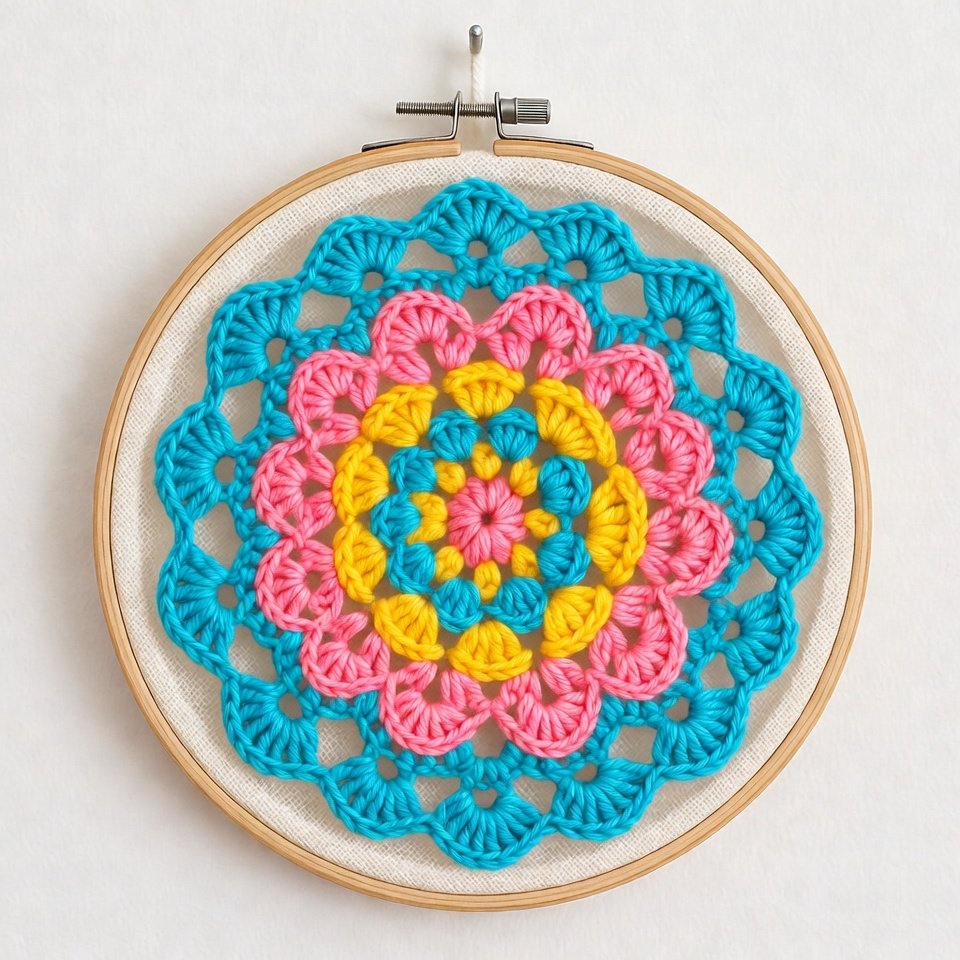
Crochet Mandala Wall Decor
Brighten any room with a Crochet Mandala Wall Decor that showcases vibrant colors and intricate layers of stitching. The circular design adds harmony and balance to a wall, creating a unique focal point. Mandalas are perfect for meditation areas, craft rooms, or kids’ spaces. Their bold yet artistic patterns make them eye-catching, handcrafted art pieces.
Crochet Mandala Wall Decor Making Tutorial
Materials
- 3mm hook
- Multiple colored yarns
- Wooden embroidery hoop
Steps
Magic Ring Base:
- Start with 12 double crochets inside a magic ring.
Increase Rounds:
- Each round increases by adding extra stitches (e.g., 2 dc in every stitch).
Add Layers of Color:
- Change yarn colors every 1–2 rounds.
- Use stitches like puff, shell, cluster for texture.
Shape & Block:
- Steam or gently block to flatten the mandala.
Attach to Hoop:
- Place the mandala inside the hoop.
- Stretch evenly and secure with sewing or tying.
Hang:
- Use twine or ribbon to display.
Crochet Floral Bouquet Wall Art
Add a romantic cottage core touch to your home with this Crochet Floral Bouquet Wall Art. Featuring 3D flowers and delicate leaves, this piece brings nature-inspired charm indoors. Perfect for bedrooms, entryways, or gift-giving, it blends fine craftsmanship with soft, pastel beauty. This wall art is an elegant way to highlight your love for floral décor and handmade crafts.

Crochet Floral Bouquet Wall Art Making Tutorial
Materials
- 3mm hook
- Yarn for flowers (pink, lavender, white)
- Yarn for leaves (green shades)
- Hot glue
- Canvas or shadow box frame
Steps
Crochet Flowers:
- Make small roses using rolled rose patterns.
- Create daisies or layered petals for variety.
Crochet Leaves & Vines:
- Chain 10–20 for vines.
- Work small leaf shapes using sc, hdc, and dc increases.
Arrange the Bouquet:
- Lay flowers on canvas first to create your preferred composition.
Glue Everything Down:
- Hot glue flowers securely.
- Add leaves and vines around them for a natural flow.
Frame:
- Place inside a shadow box or hang the canvas directly
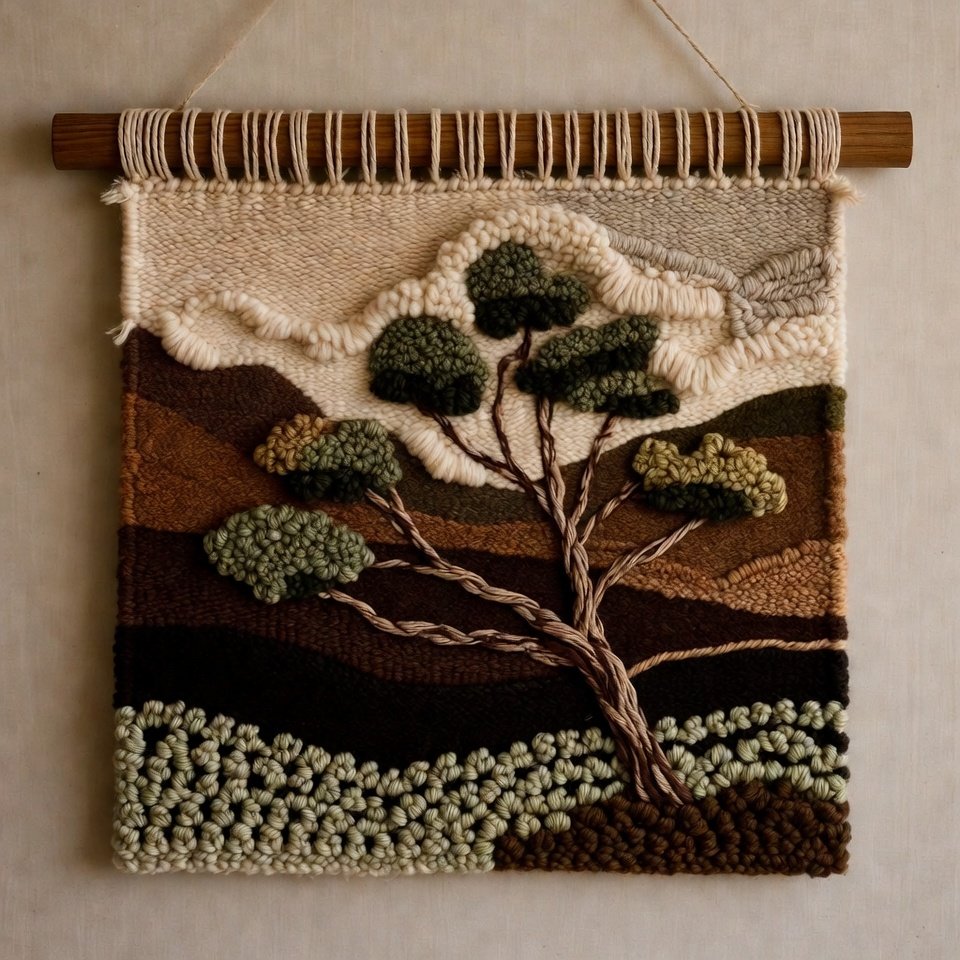
Nature Scene Tapestry Crochet Art
This Nature Scene Tapestry Crochet Art brings the beauty of the outdoors right into your home. Using tapestry-crochet techniques, the design features mountains, forests, sunsets, or lakes, creating a peaceful landscape on yarn. Ideal for rustic, Scandinavian, or cabin-themed interiors, it serves as a calming piece of wall art that highlights creativity and craftsmanship.
Nature Scene Tapestry Crochet Art Making Tutorial
Materials
- 4 mm hook
- Multiple colors of worsted yarn
- Tapestry needle
- Wooden dowel
Steps
Design Your Pattern
- Draw a simple landscape: mountains, trees, and sun.
- Convert it into a pixel/graph grid (each square = 1 stitch).
Start the Panel
- Chain the full width needed.
- Use single crochet for tight, picture-like stitches.
Color Changes
- Follow the graph row by row.
- When switching colors, pull the new color through the last stitch of the previous one.
Carry Yarn Properly
- Float unused yarn behind OR crochet over it to keep the fabric thick.
Finish Edges
- Add one round of single crochet around the panel.
Attach to Dowel
- Slip stitch or sew the top edge to a wooden dowel.
Hang
- Add a yarn loop for hanging.
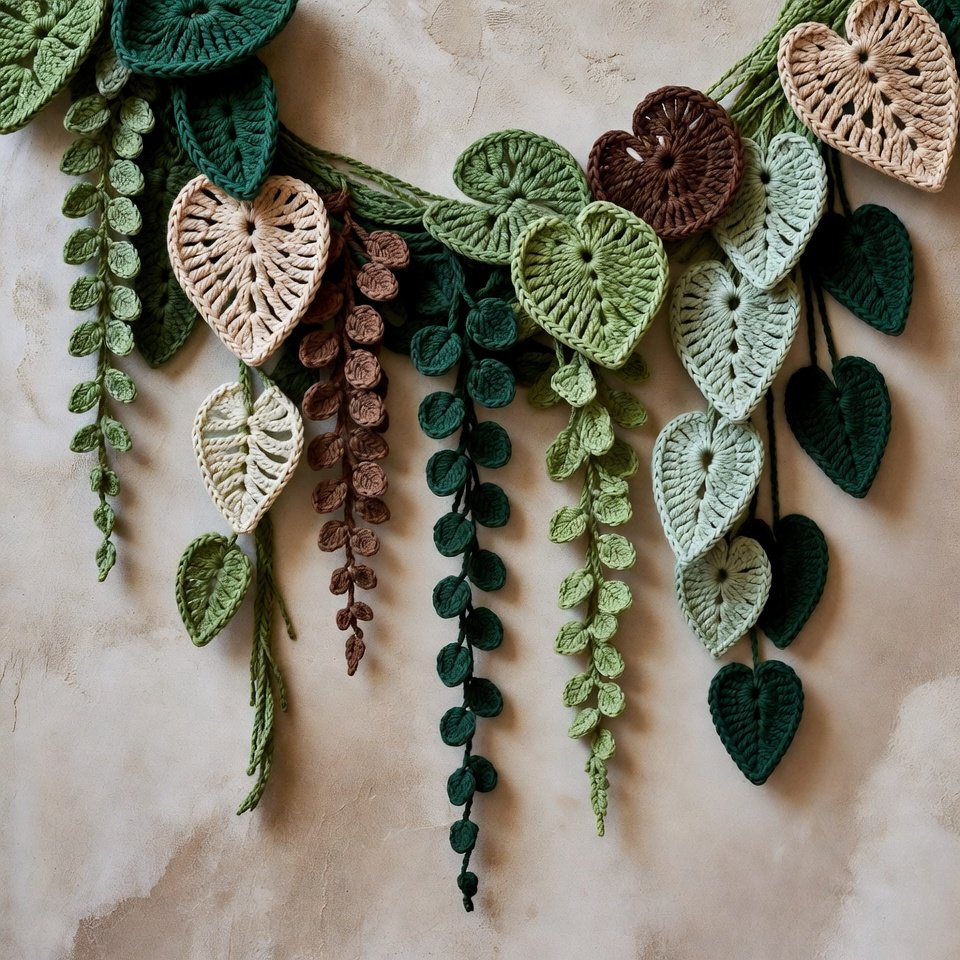
3D Crochet Leaves & Vines Wall Hanging
Bring nature indoors with this 3D Crochet Leaves & Vines Wall Art, featuring layered leaves, vines, and botanical textures. This piece adds movement and organic beauty to any wall, perfect for plant lovers, boho homes, and eco-inspired interiors. The layered effect creates a realistic and artistic botanical display.
3D Crochet Leaves & Vines Wall Hanging Making Tutorial
Materials
- 3.5 mm hook
- Green yarn (various shades)
- Wooden dowel
- Hot glue (optional)
Steps
Crochet Vines
- Chain 40–100, depending on length.
- Slip stitch back along the chain for thin vines.
Crochet Leaves
- Chain 8.
- Work sc, hdc, dc, dc, hdc, sc on one side of the chain.
- Repeat on the other side.
Make Leaf Clusters
- Stitch 3–5 leaves onto each vine.
Assemble Panel
- Tie vines to a dowel, letting them cascade.
Add Depth
- Mix different greens and lengths.
Hang
- Use yarn to create a hanger.